How to build a brand community: the complete guide to launching it and keeping it alive
The step-by-step guide to building a brand community on your store, from preparation to ambassadors, with 30 post ideas and a checklist.
The hardest part of a community is the launch. Once it is up and running, it will largely run on its own, but without a push at the start it has little chance of working.
So here is the guide that explains how to launch your community with Insider Club and build customer loyalty. We have put in everything we recommend to brands that are getting started, step by step, with 30 post ideas and a checklist at the end.
If you haven’t installed the app yet, you will find it here on the Shopify App Store. And if you have questions along the way, contact us through the chat, by email at hello@insider-club.app or by booking a video call with our team.
What is a brand community?
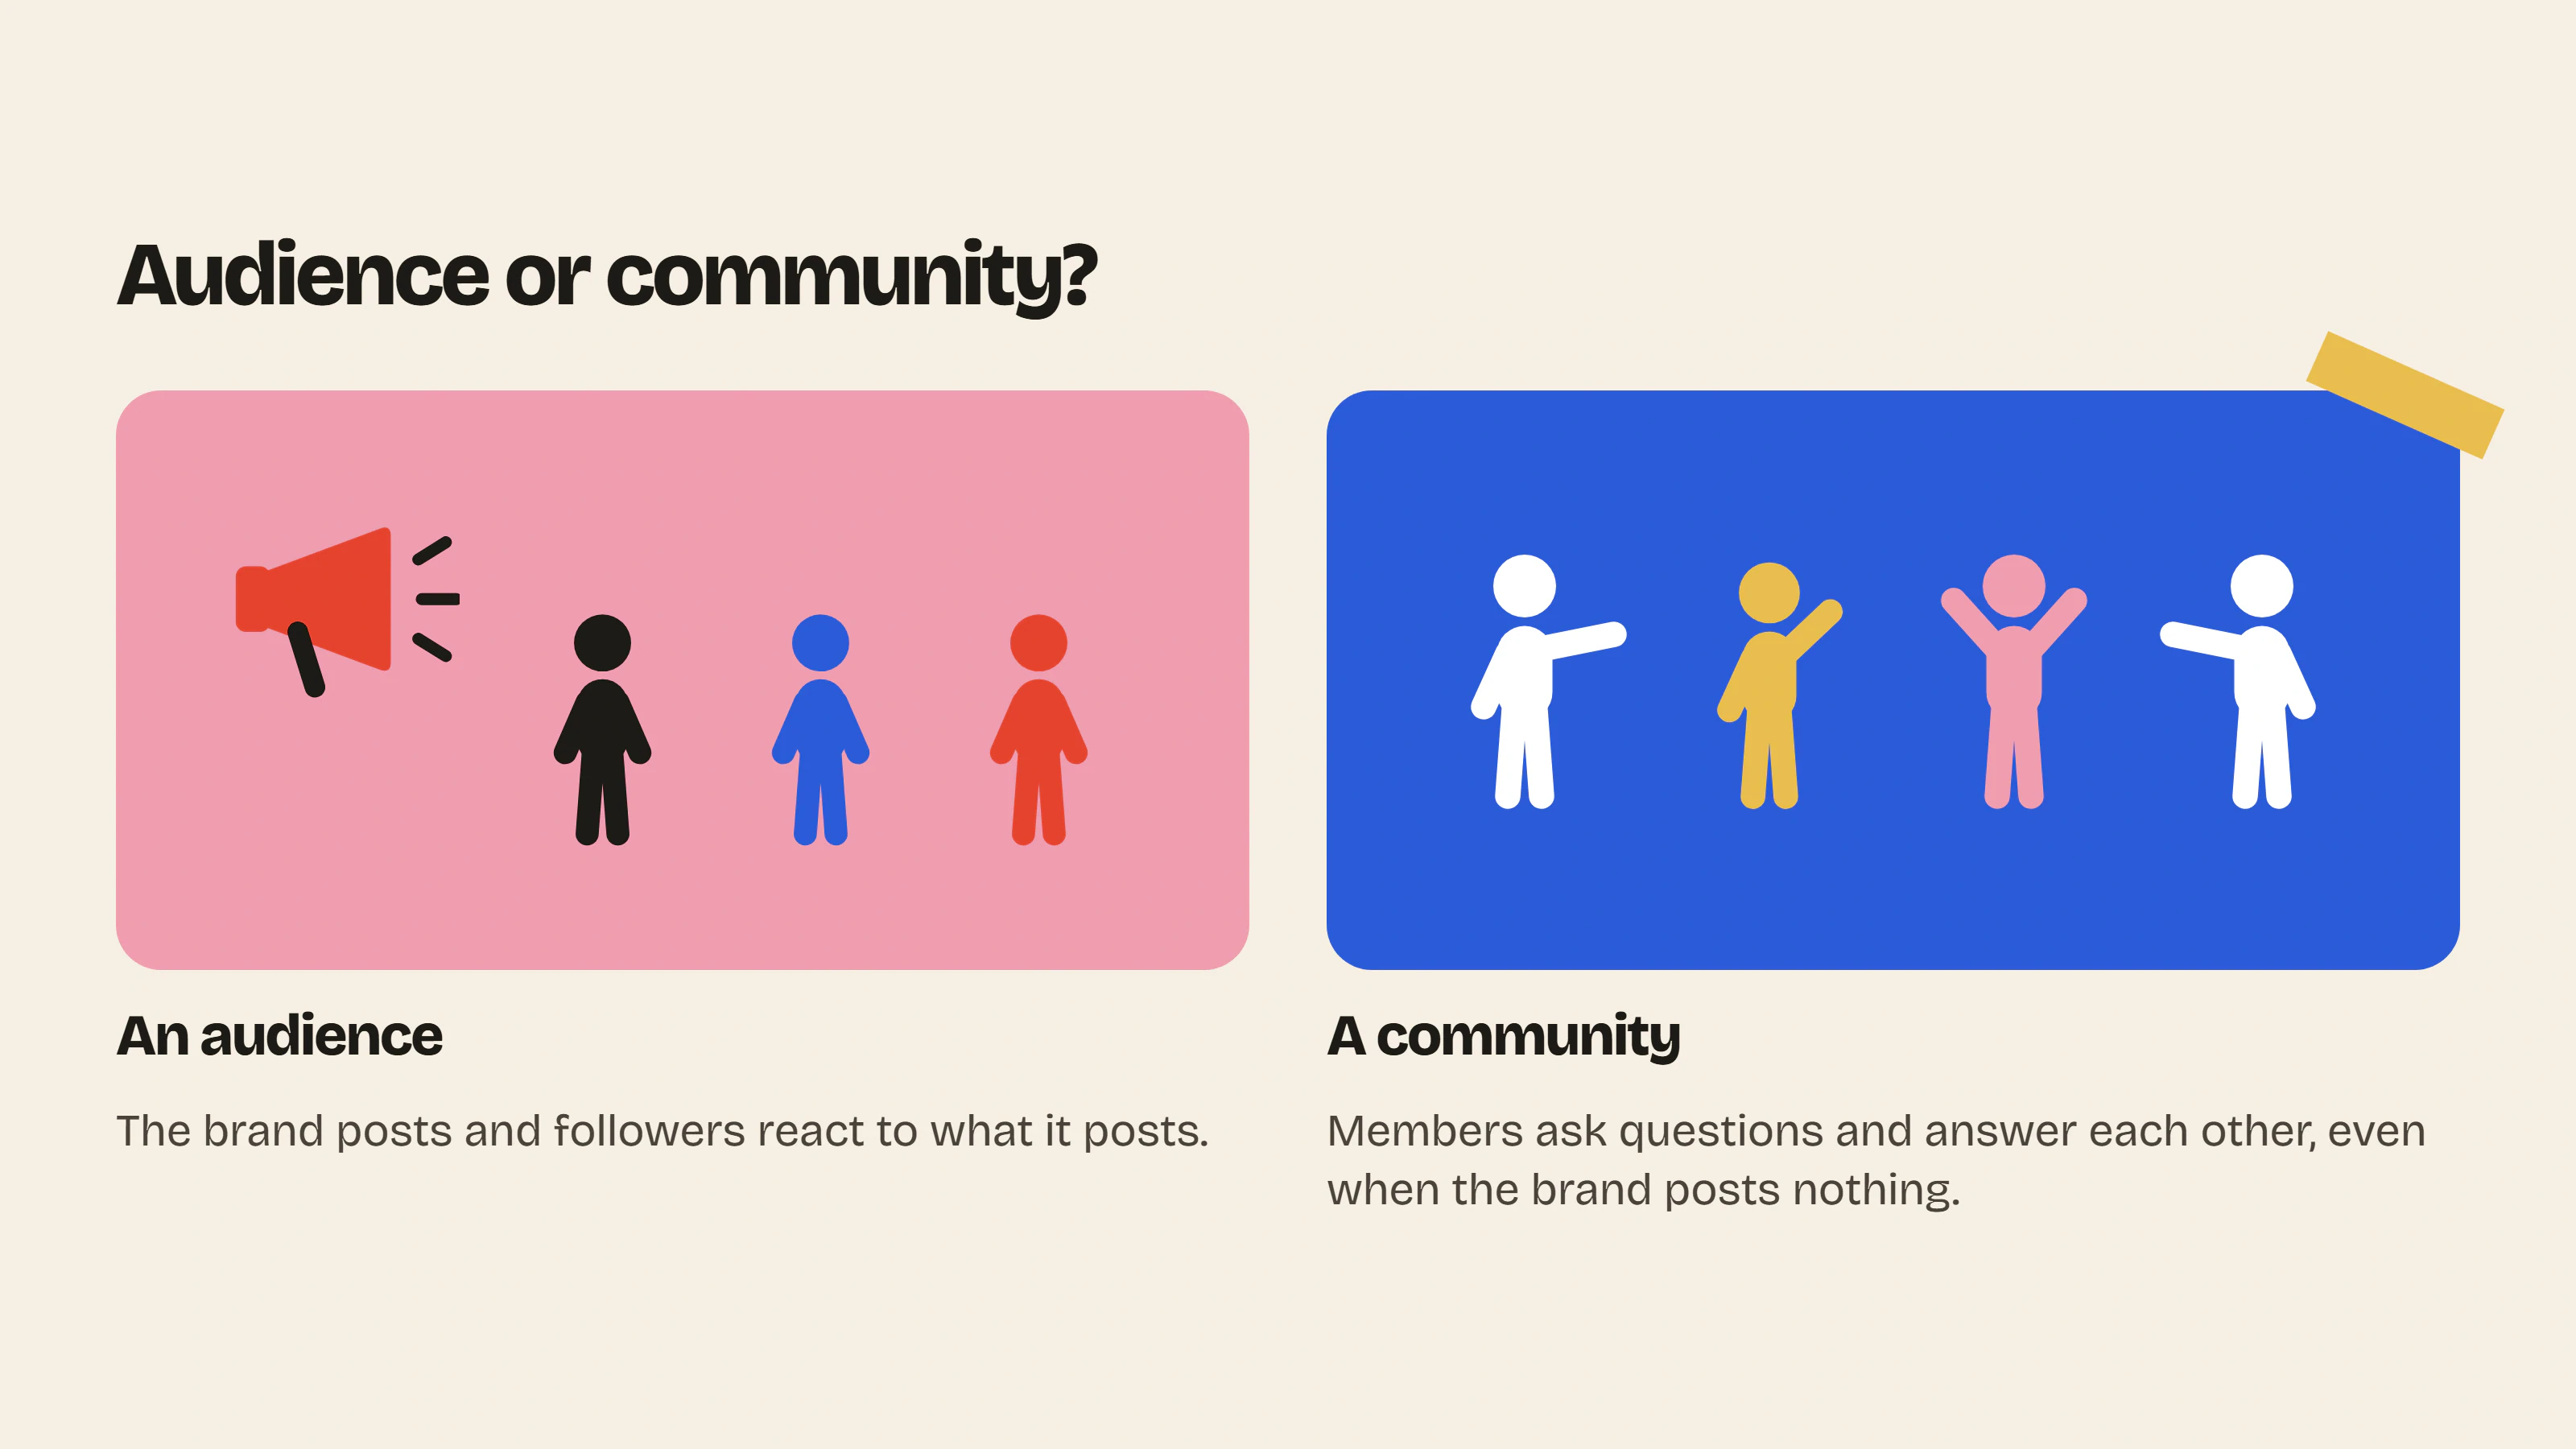
A brand community is your customers (and the enthusiasts of your world) talking to each other about your brand. They ask questions, share their photos, give each other advice, even on the days you don’t post anything.
On Instagram, you post and your followers react. In a community, it is your customers who talk to each other.
| Your followers | Your community | |
|---|---|---|
| Who talks? | You | Your customers, to each other |
| What they do | They read and like | They ask questions, reply and share |
| When you don’t post | Nothing happens | The conversations carry on |
| Where does it happen? | On social media | In a space of your own, ideally on your store |
If you want to dig into the strategy behind all this, we cover it in our article on community marketing.
Why launch a community on your store?
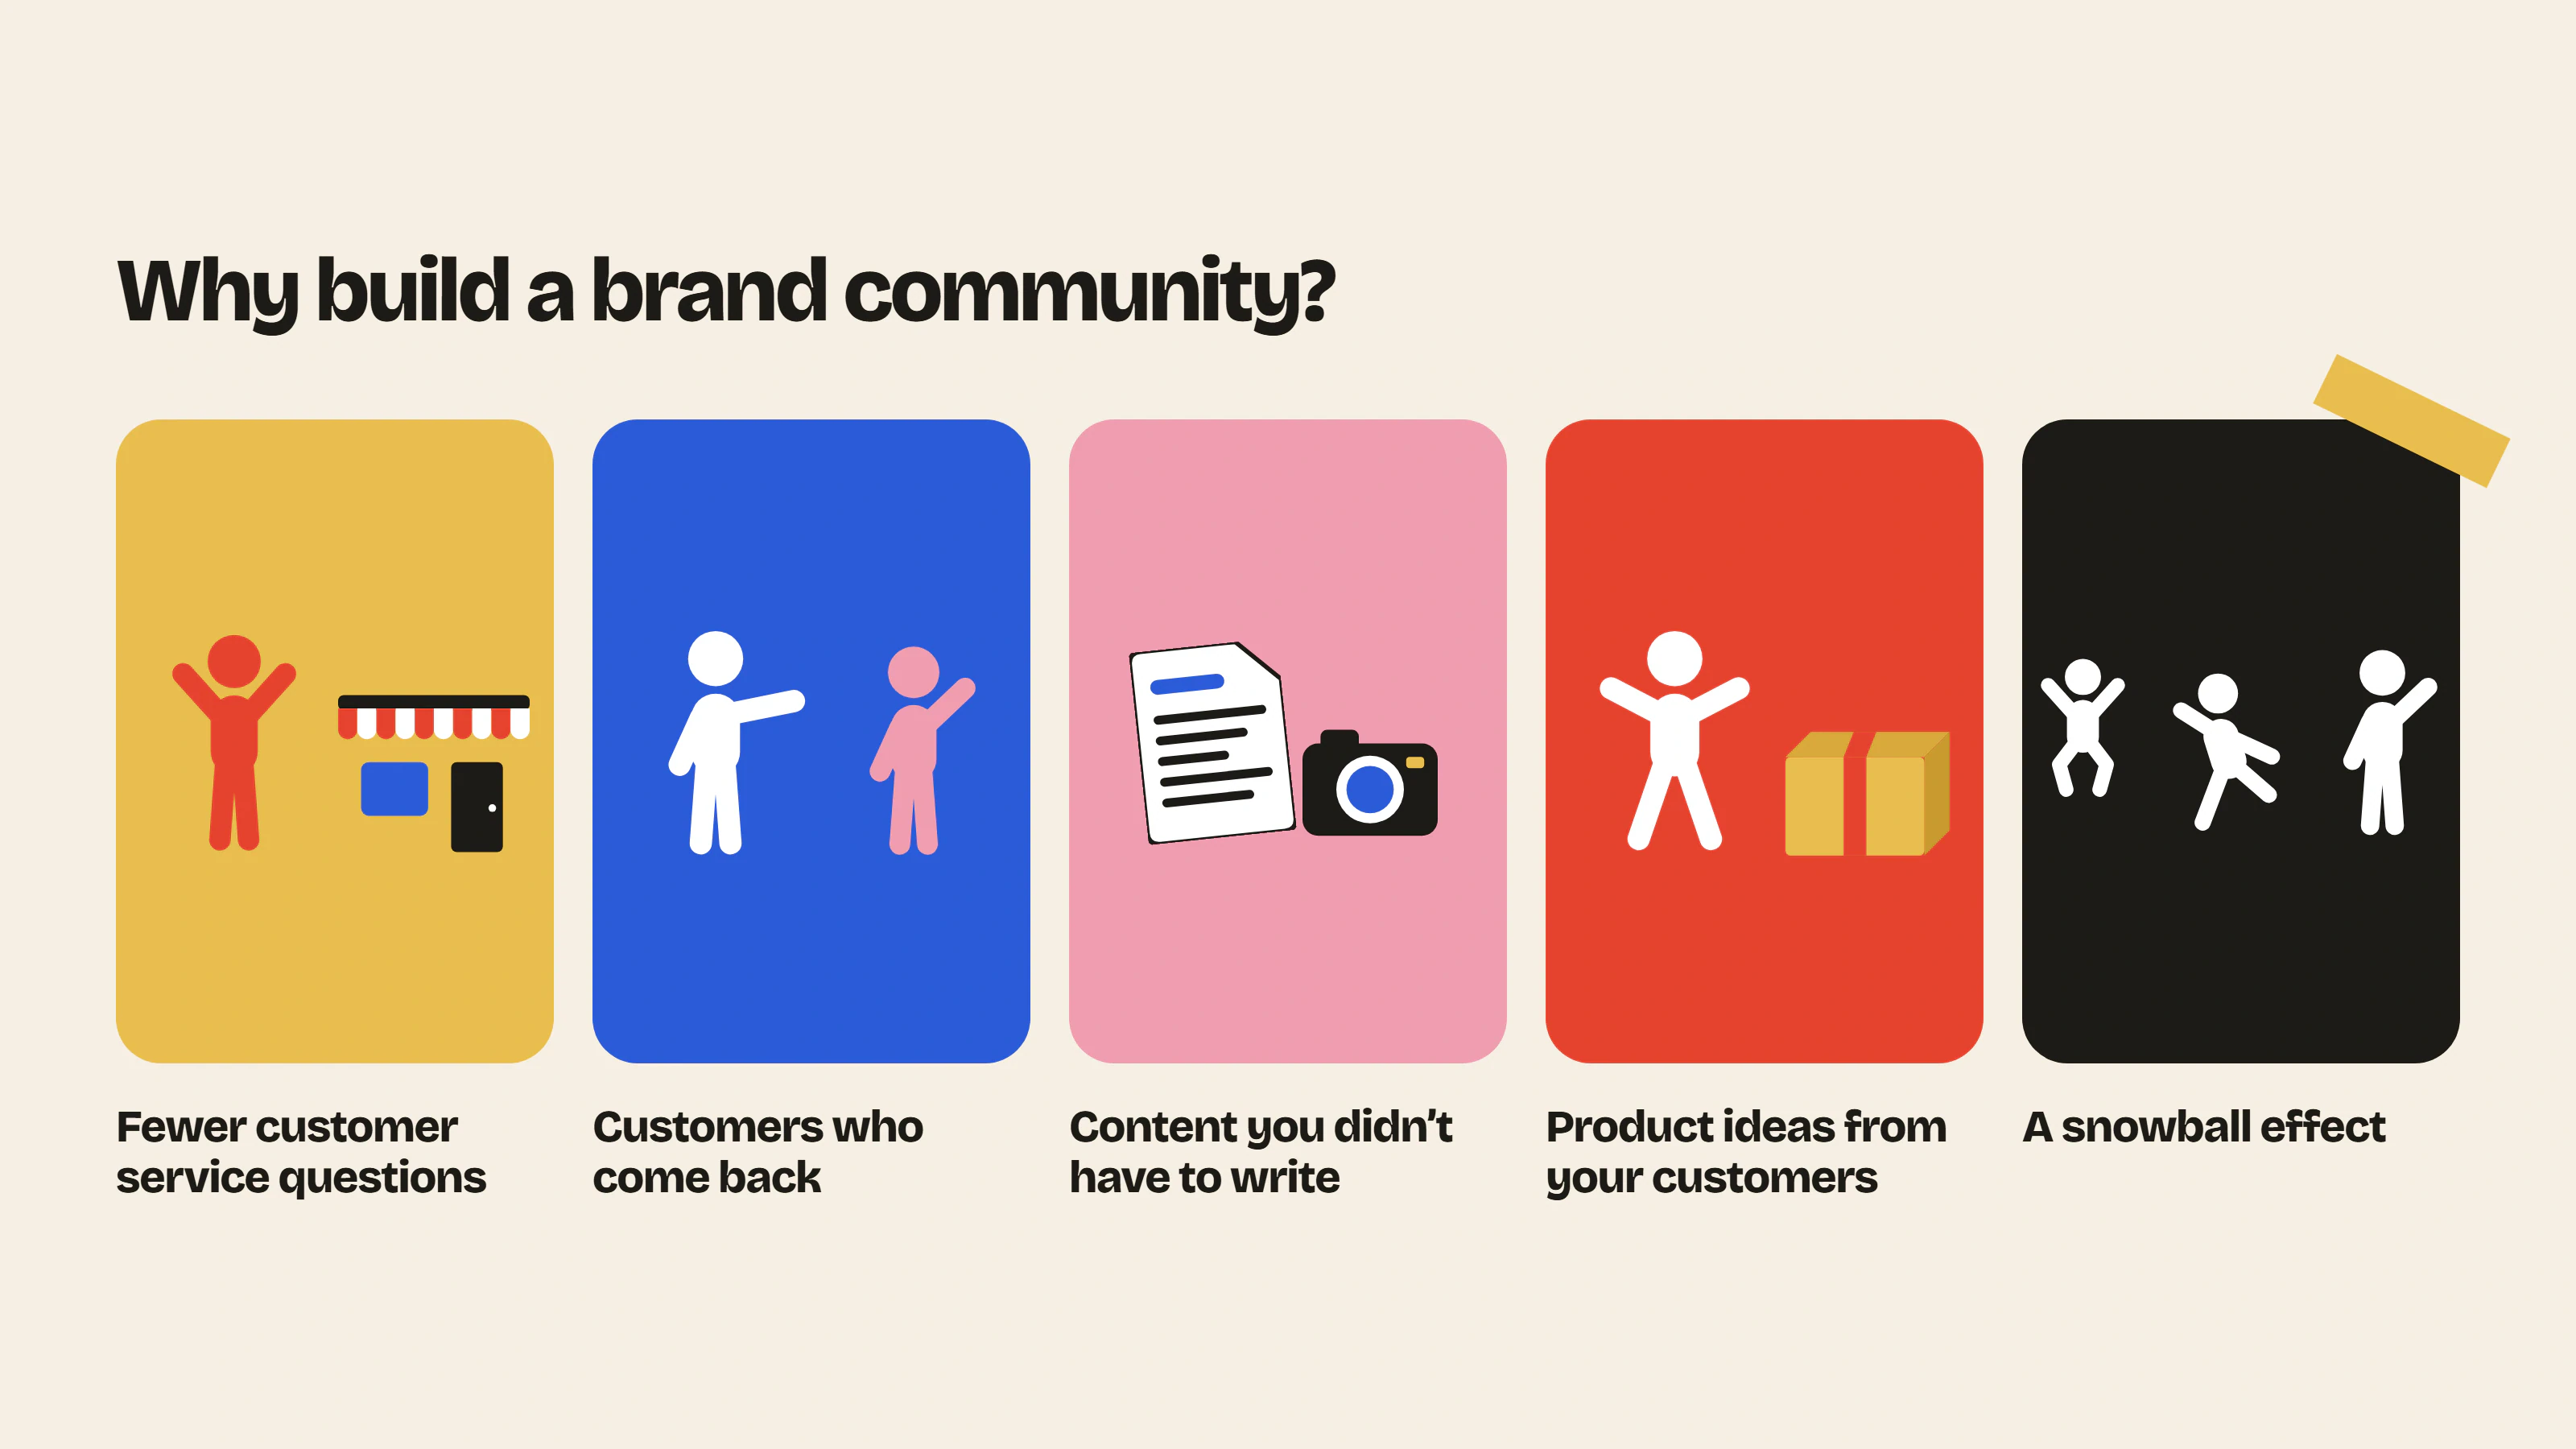
The first effect shows up in your customer service. If a question already has its answer on the forum, the next customer finds it instead of contacting you. And often, other customers are the ones who answered. So you will get fewer questions in customer service. If you want a rough idea of the time saved, our customer support savings calculator does the math with your own figures.
The second effect is that your customers come back to your store more often between two orders. They drop by to see if someone has answered their question or to follow a discussion they care about. On every visit, they see your products again, without you having to send them a promo.
Your customers also post photos, reviews, tips or before / after shots. That is content you didn’t have to write and it reassures visitors who are still hesitating to buy. We explain why it is so valuable in our article on user-generated content.
There are also product ideas that come straight from your customers. The best-known example is Glossier: in January 2015, the brand asked the readers of its blog what their ideal cleanser would look like, nearly 400 comments went to their chemist and Milky Jelly Cleanser came out a year later (Into The Gloss).
And over time, there is a snowball effect: each useful discussion brings in new members, who in turn start other discussions. It takes a few weeks, which is why the launch matters so much. We go into all of this in why add a forum to your Shopify store.
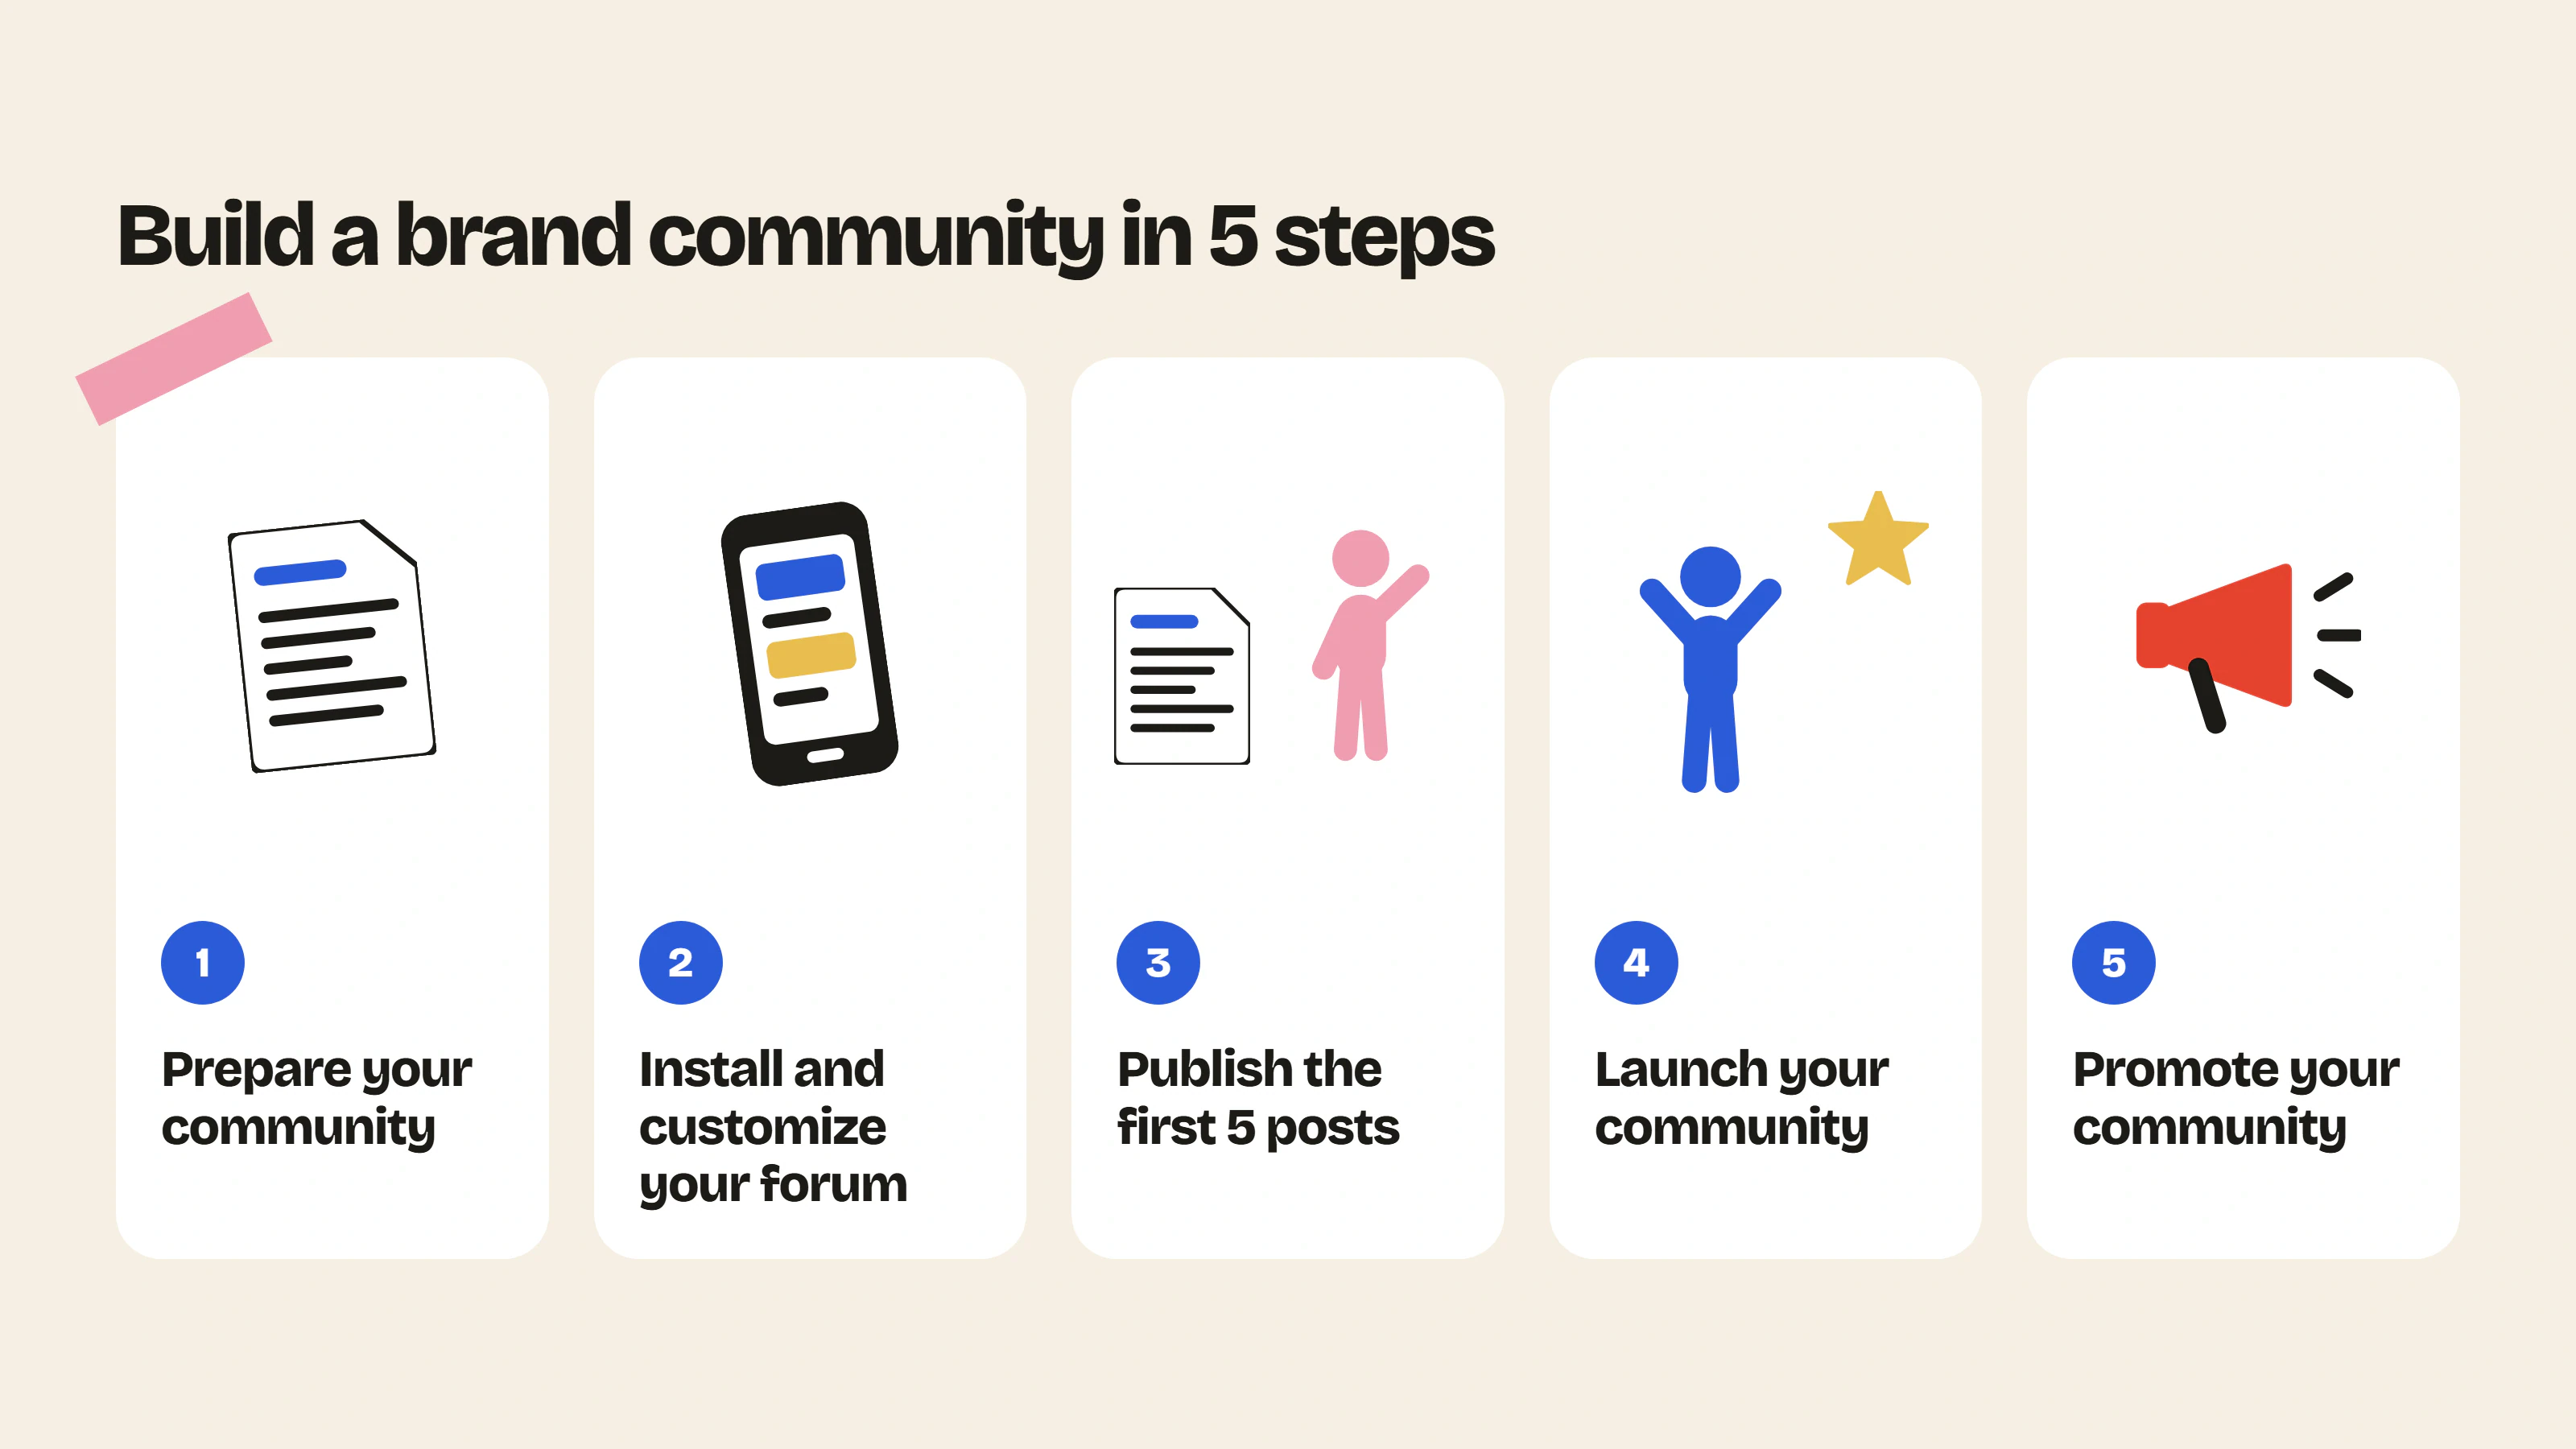
Prepare your community (step 1)
Before you touch the app, take an hour or so to prepare your community. It will save you a lot of time later.
Start with the topic that will bring your members together. People join a community for a topic they care about: taking care of their skin, getting better at cycling, cooking better… Your product naturally finds its place in these conversations.
Then write a welcome sentence, the one that will appear at the top of the forum and says in one line what it is for. For example, “This is where [your brand] customers share their routines and help each other.” It is the first thing a visitor will read, so it is worth spending five minutes on it.
To find your categories and your first topics, open your inbox and your direct messages. The questions your customers ask you all the time will make excellent first topics. The way they talk about them will give you better category names than your brand vocabulary.
Finally, write down fifteen or so customers you know well, the ones who often write to you or order regularly. They are the ones you will invite first in step 4.
And if you are still unsure about the tool, we compared the options in our article on online community platforms and in the one on Discord for a Shopify brand.
Install and customize Insider Club (step 2)
Once the installation is done, you are redirected to a page that guides you through creating the forum, installing it on your store and then customizing it.
Take the time to adapt it properly to your brand’s colors and style with the logo, a banner, fonts, colors, corner rounding… You need to keep the gap between Insider Club and the rest of your site as small as possible, otherwise visitors won’t want to create a post or comment.
Next, add your categories for posts, each with a name, a description and an emoji. For a launch, we recommend starting with three to five categories at most. You will add more later, when you see what your customers talk about most.
Also add the guidelines that apply to your community. It is important to set the rules from the start to avoid problems later, even though a lot is already built in to prevent them (spam detection, banned words, reports…).
Finally, take the time to adjust your settings. For example, you can:
- make the community public or private;
- add the links to your social media accounts;
- allow visitors to post or not;
- allow links in posts or not;
- add words to ban;
- set limits on posts and comments;
- add an email address to be notified of activity.
Go to the “Settings” section to see all the options. A quick note: private categories, roles, polls, photos and the password-protected forum are part of the paid plan (the details are on the pricing page).
If you are short on ideas for the design, our community simulator shows you what the forum will look like on your store.
Publish your first 5 posts (step 3)
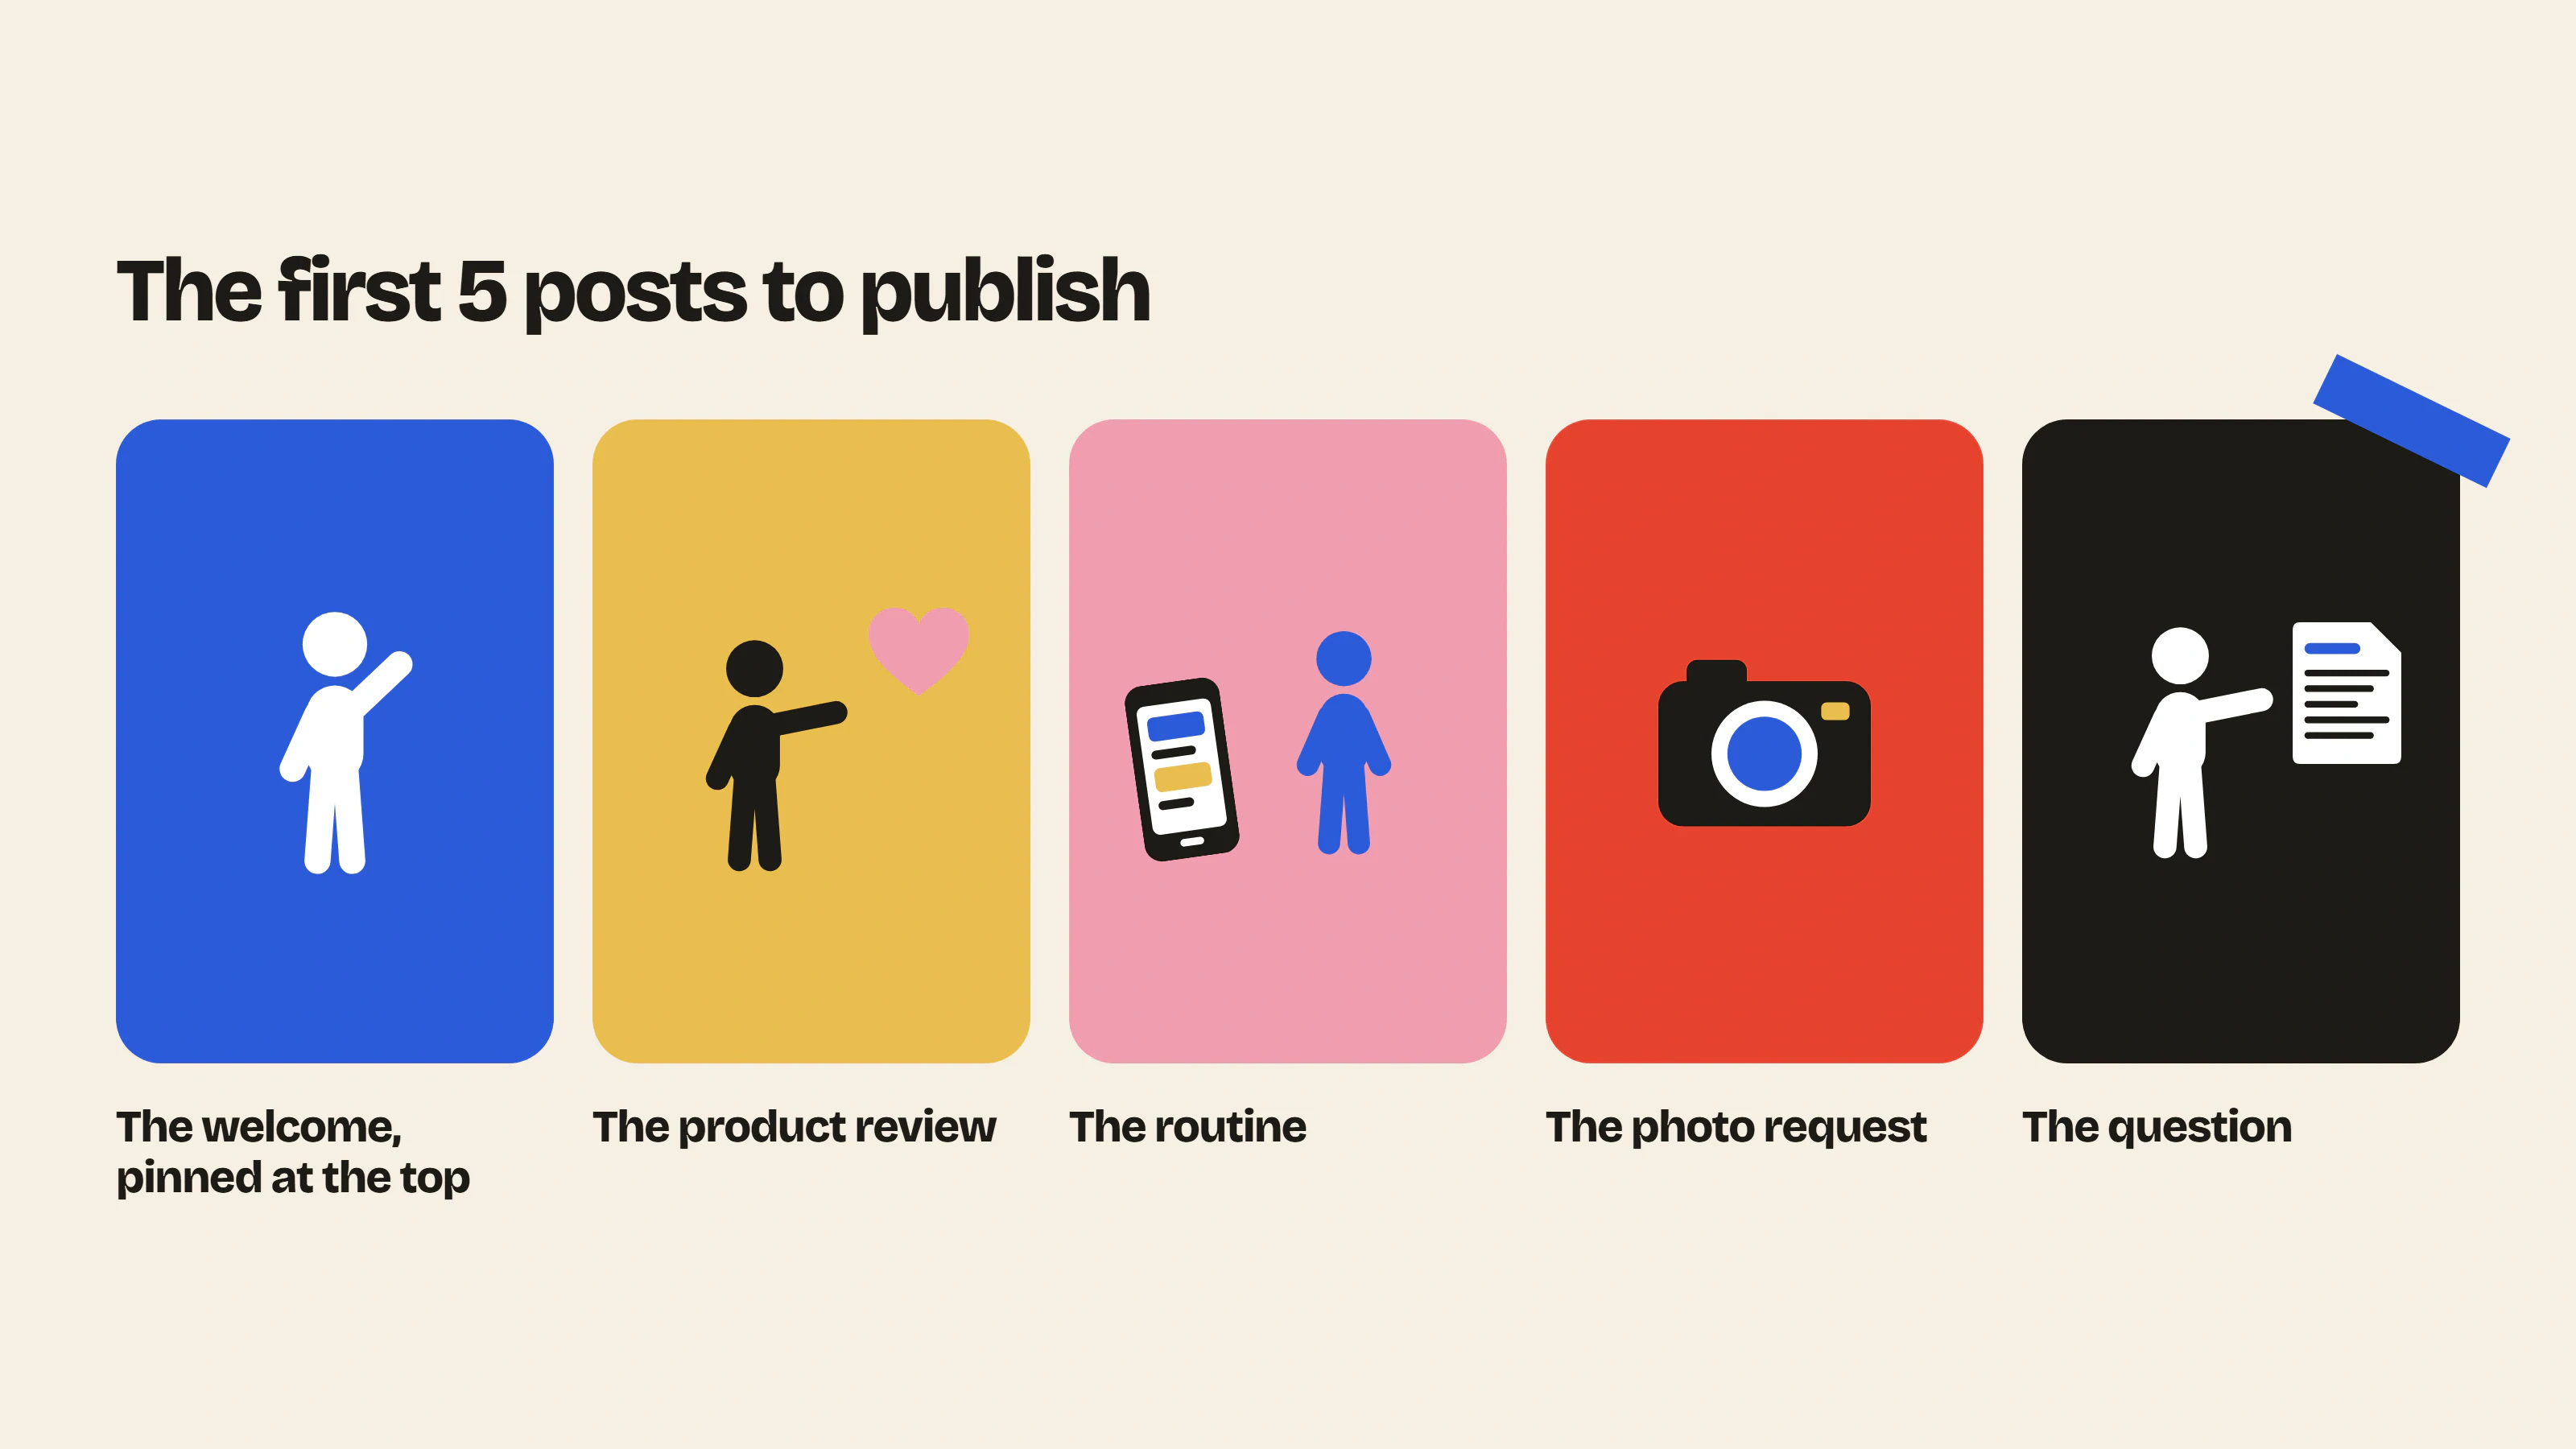
We recommend adding at least 5 posts before inviting anyone, otherwise the forum will look “empty”. People often don’t like to post the first message in an empty place.
The 1st post is there to welcome the community. Introduce yourself, explain what the space is for and invite members to introduce themselves in turn. You can also pin it at the top of your community.
For the next 4 posts, we recommend doing at least one per category, so that no space stays empty. Here are the 4 we see working best, with an example for each:
| Post | What is it for? | Example |
|---|---|---|
| The welcome, pinned at the top | Say where people are and get the introductions going | “Welcome! Introduce yourself in one sentence: who are you and what is your favorite product?” |
| The product review | Get people talking about their experience | “Have you tried [product]? What you liked, what you would change.” |
| The routine | Show everyday use | “Your morning routine in three steps, with or without our products.” |
| The photo request | Collect visual content | “Show us [product] at home, the best photo will be pinned.” |
| The question | Get people helping each other | “What question would you have liked to ask before your first purchase?” |
Sign your posts with your first name and reply to the first comments yourself. On the other hand, avoid creating fake accounts to boost the numbers: it always ends up showing and trust takes a hit.
If writing holds you back, our launch post generator suggests texts that are ready to adapt.
Launch the community (step 4)
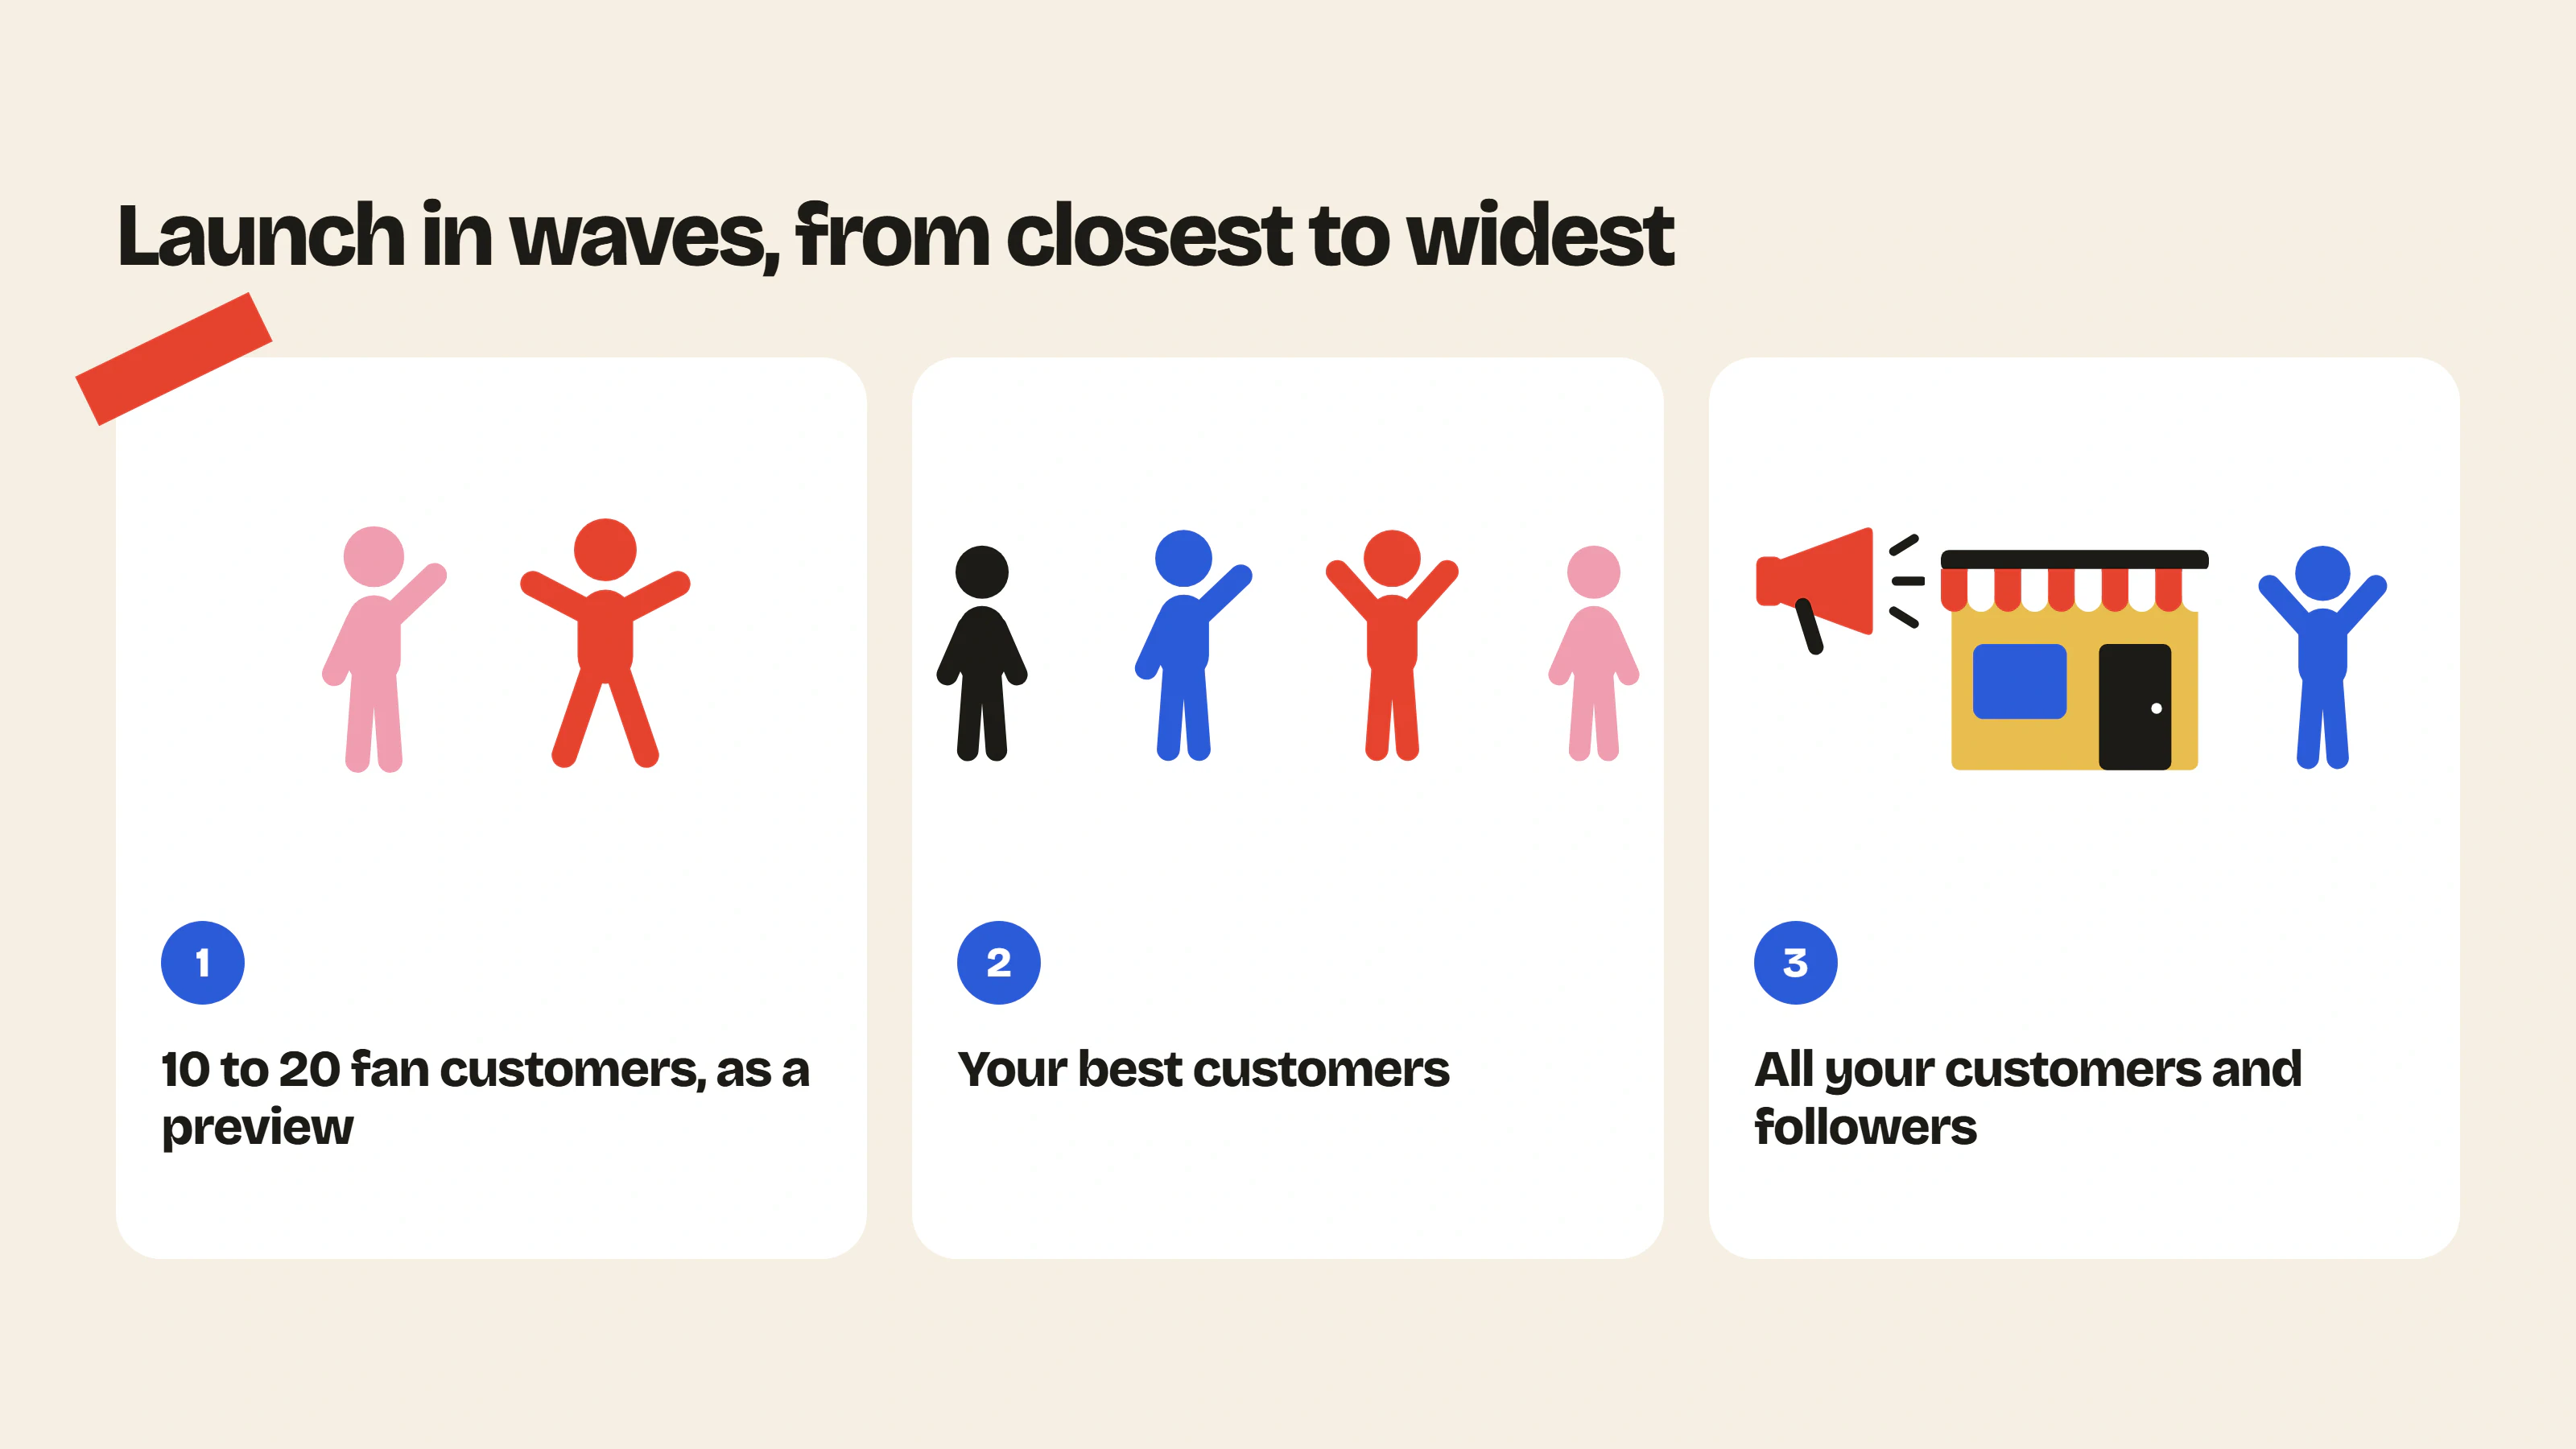
The reflex is to send the announcement to your whole list on day one. We recommend opening in waves instead, starting with the customers who are closest to the brand. That way, when everyone arrives, there are already conversations going on.
| When | Who | How |
|---|---|---|
| Week 1 | 10 to 20 fan customers, as a preview | A personal message with a specific request, for example “tell us how you use this product” |
| Week 2 | Your best customers | An email signed with your first name, which links to one discussion in particular. A few days later, a single follow-up that tells what was said |
| Week 3 | All your customers and followers | The official announcement, on the site, by email and on social media (see step 5) |
During these first weeks, the most important thing is to reply quickly. Try to reply to each new member’s first message within the day: someone who asks a question and gets no answer rarely comes back. The app’s email alerts let you know as soon as a message comes in. And remember to like your members’ posts, it shows them they have been read.
To get the shyest members writing, two ideas work well. A Q&A session with the founder or a creator you like, announced a few days before, even if it only lasts twenty minutes. And a small prize draw among the members who have introduced themselves.
Promote your community (step 5)
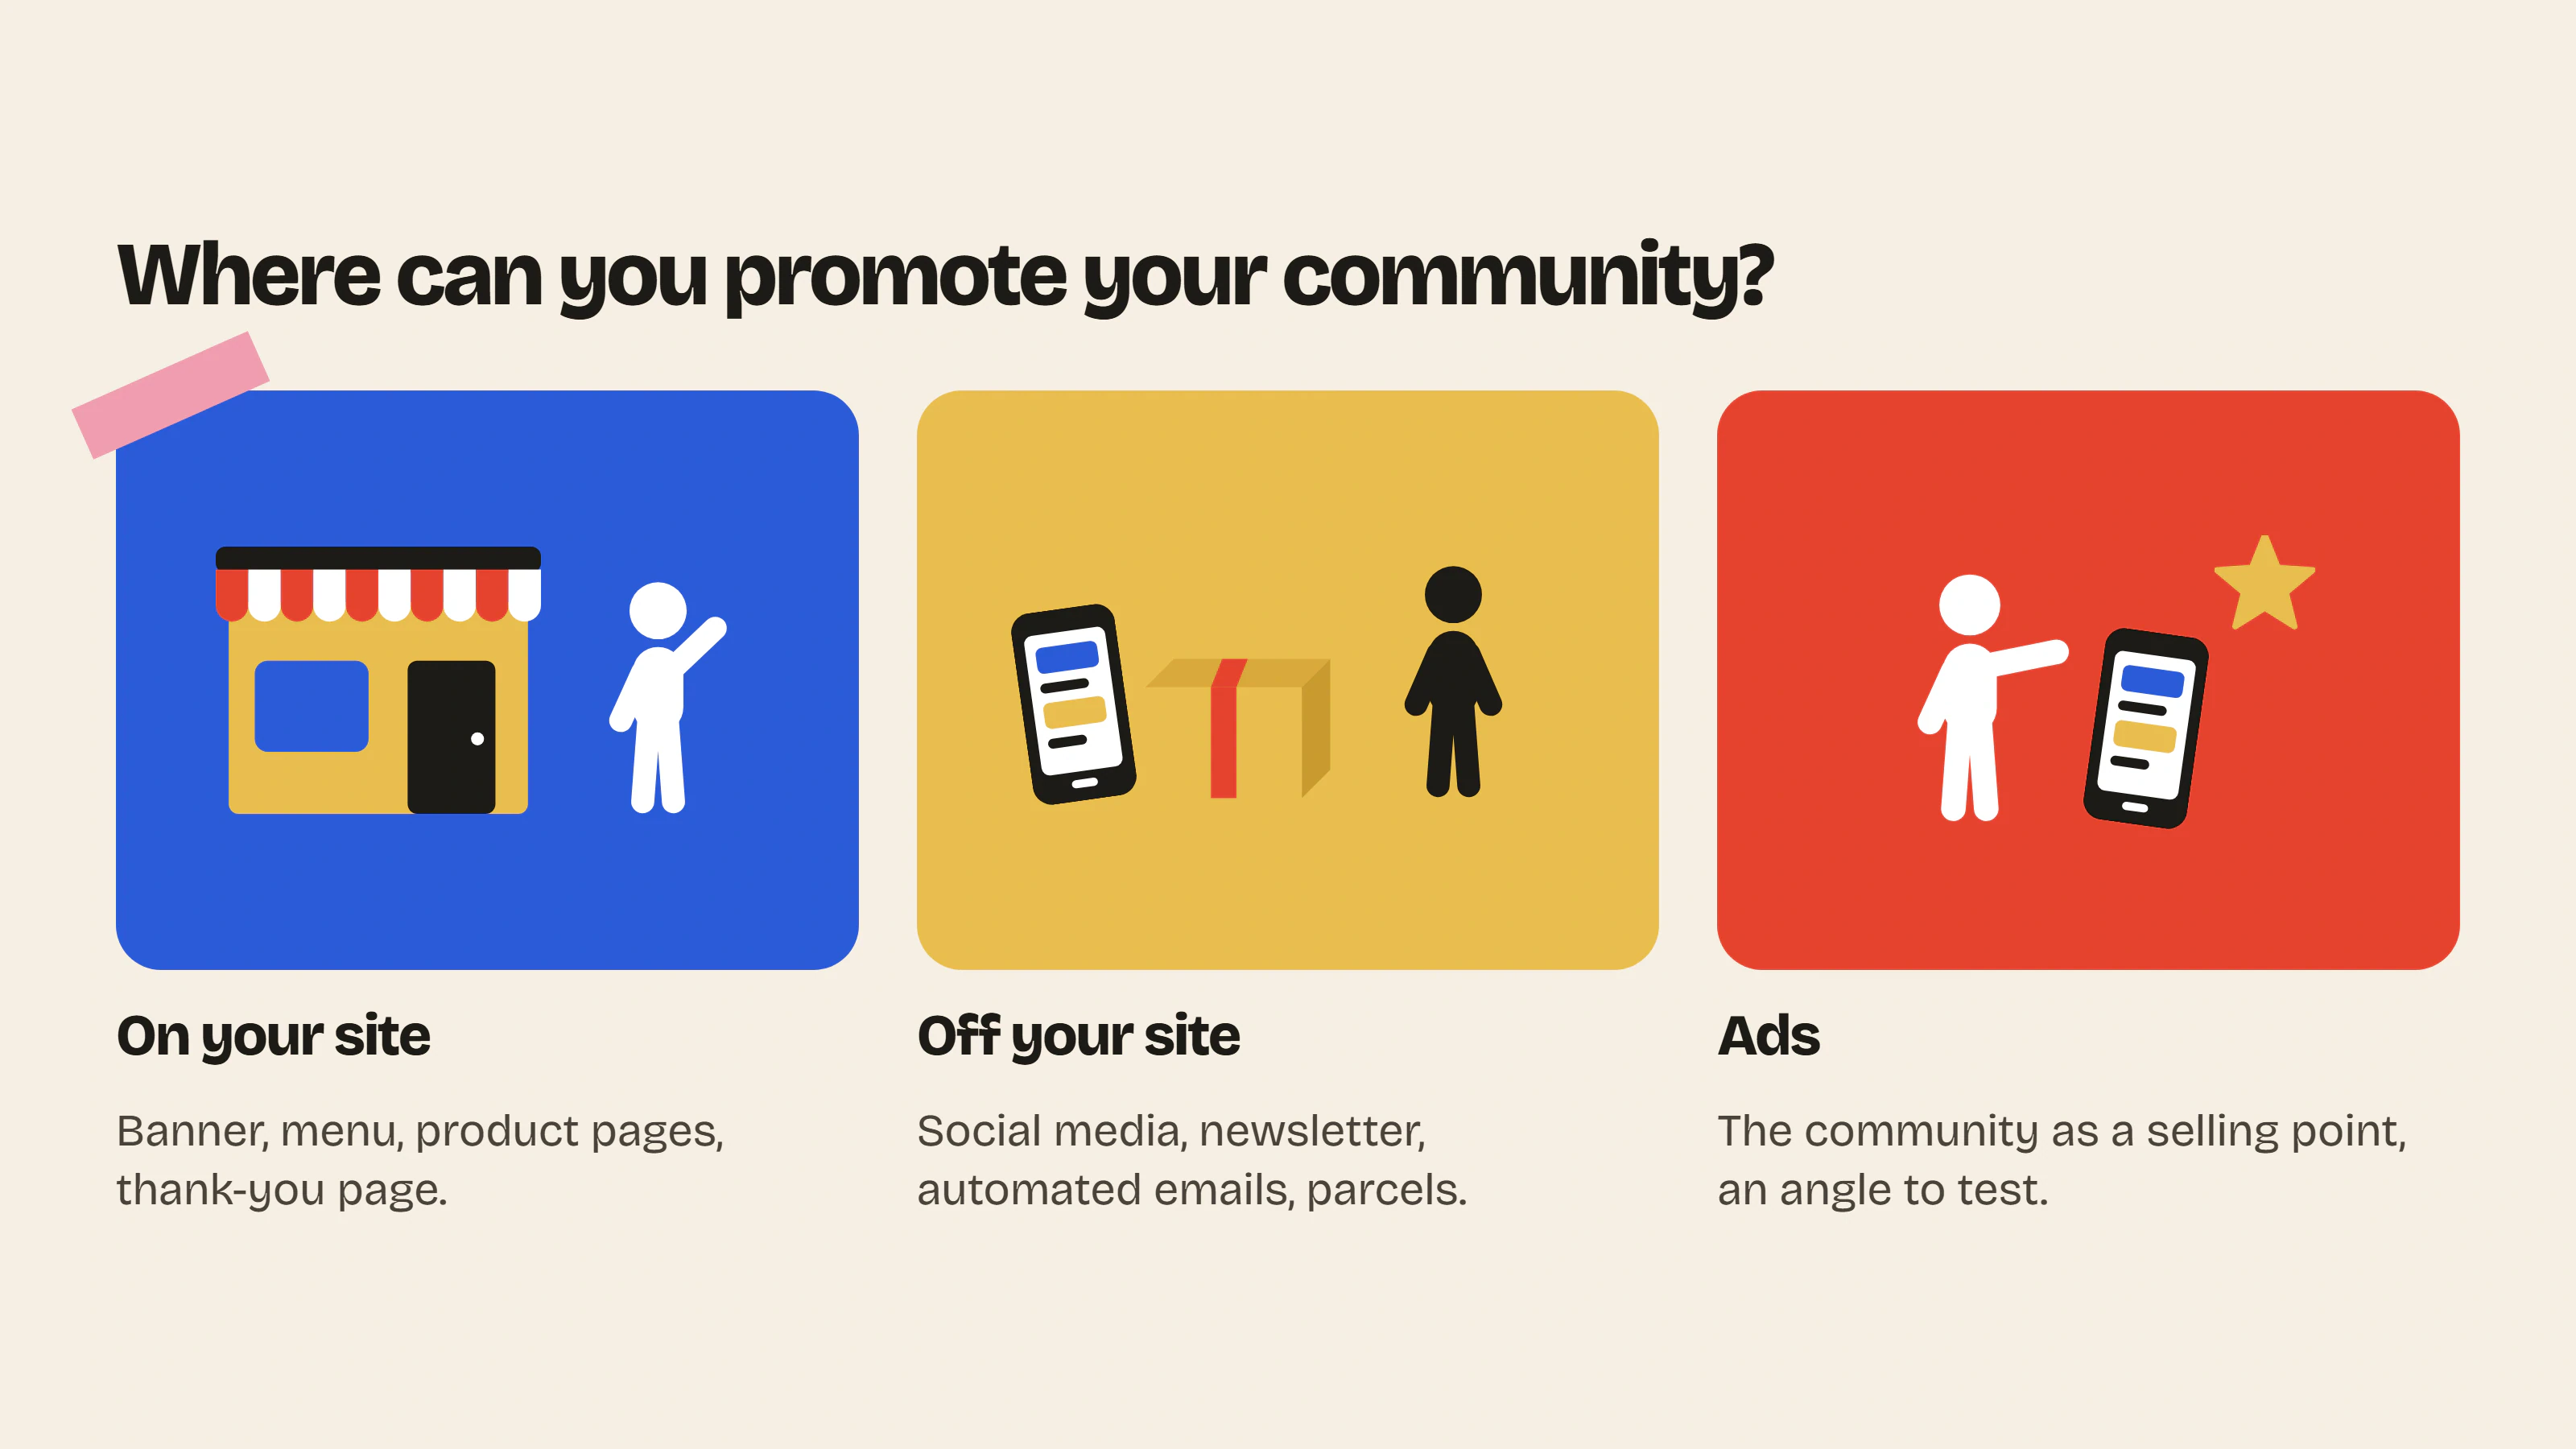
Generally speaking, the more you talk about your community, the more results you will get. Here are the places where we recommend mentioning it.
On your site
- Add a banner in the site header to announce it.
- Put the community in the site menu.
- On the contact page, point to the community to reduce support requests.
- Create a section on the homepage to talk about it.
- Add a link to the community in the footer.
- On product pages, add the line “Got a question? Ask the community”.
- On the thank-you page after an order, invite the customer to join the community.
- Write a blog post to announce the launch of the community and explain what it will be used for.
Off your site
- On social media, create dedicated posts, mention it in your bio, post stories and a story highlight to keep it visible.
- Add the community to your link page (Linktree or similar), it will increase the number of visits.
- Send a special newsletter for the announcement.
- Mention the community in most of your email flows, especially the welcome flow and the post-purchase flow.
- Slip a small card with a QR code into your parcels.
- In customer service, reply with the link to an existing discussion, it saves you from rewriting the answer every time.
- If you work with affiliates or creators, ask them to talk about your community, it will increase the impact.
In ads
On Meta or elsewhere, featuring your community is a good way to stand out from your competitors. A community that is already active reassures new visitors and can win you conversions. It is an angle to test against your usual ads.
Public or private, free or paid community?
For a store, we recommend starting with a public and free community. Once you have a small core of regular members, you can add a space reserved for your best customers.
| Advantages | Limits | For whom | |
|---|---|---|---|
| Public | Your future customers see the conversations before they buy | Less intimacy | Most e-commerce brands |
| Private | An exclusive space where members feel privileged | Less visible, you have to be invited | A club of loyal customers, a limited edition |
| Mixed | Help open to everyone and a VIP space for your best customers | A bit more organization | Brands that already have a core of fans |
A paid community makes sense when access itself is what you are selling, like a membership club or a course. In that case, a dedicated platform will suit you better than a store forum. On Insider Club, private categories and the password are enough to reserve a space for certain members.
30 post ideas to keep your community alive
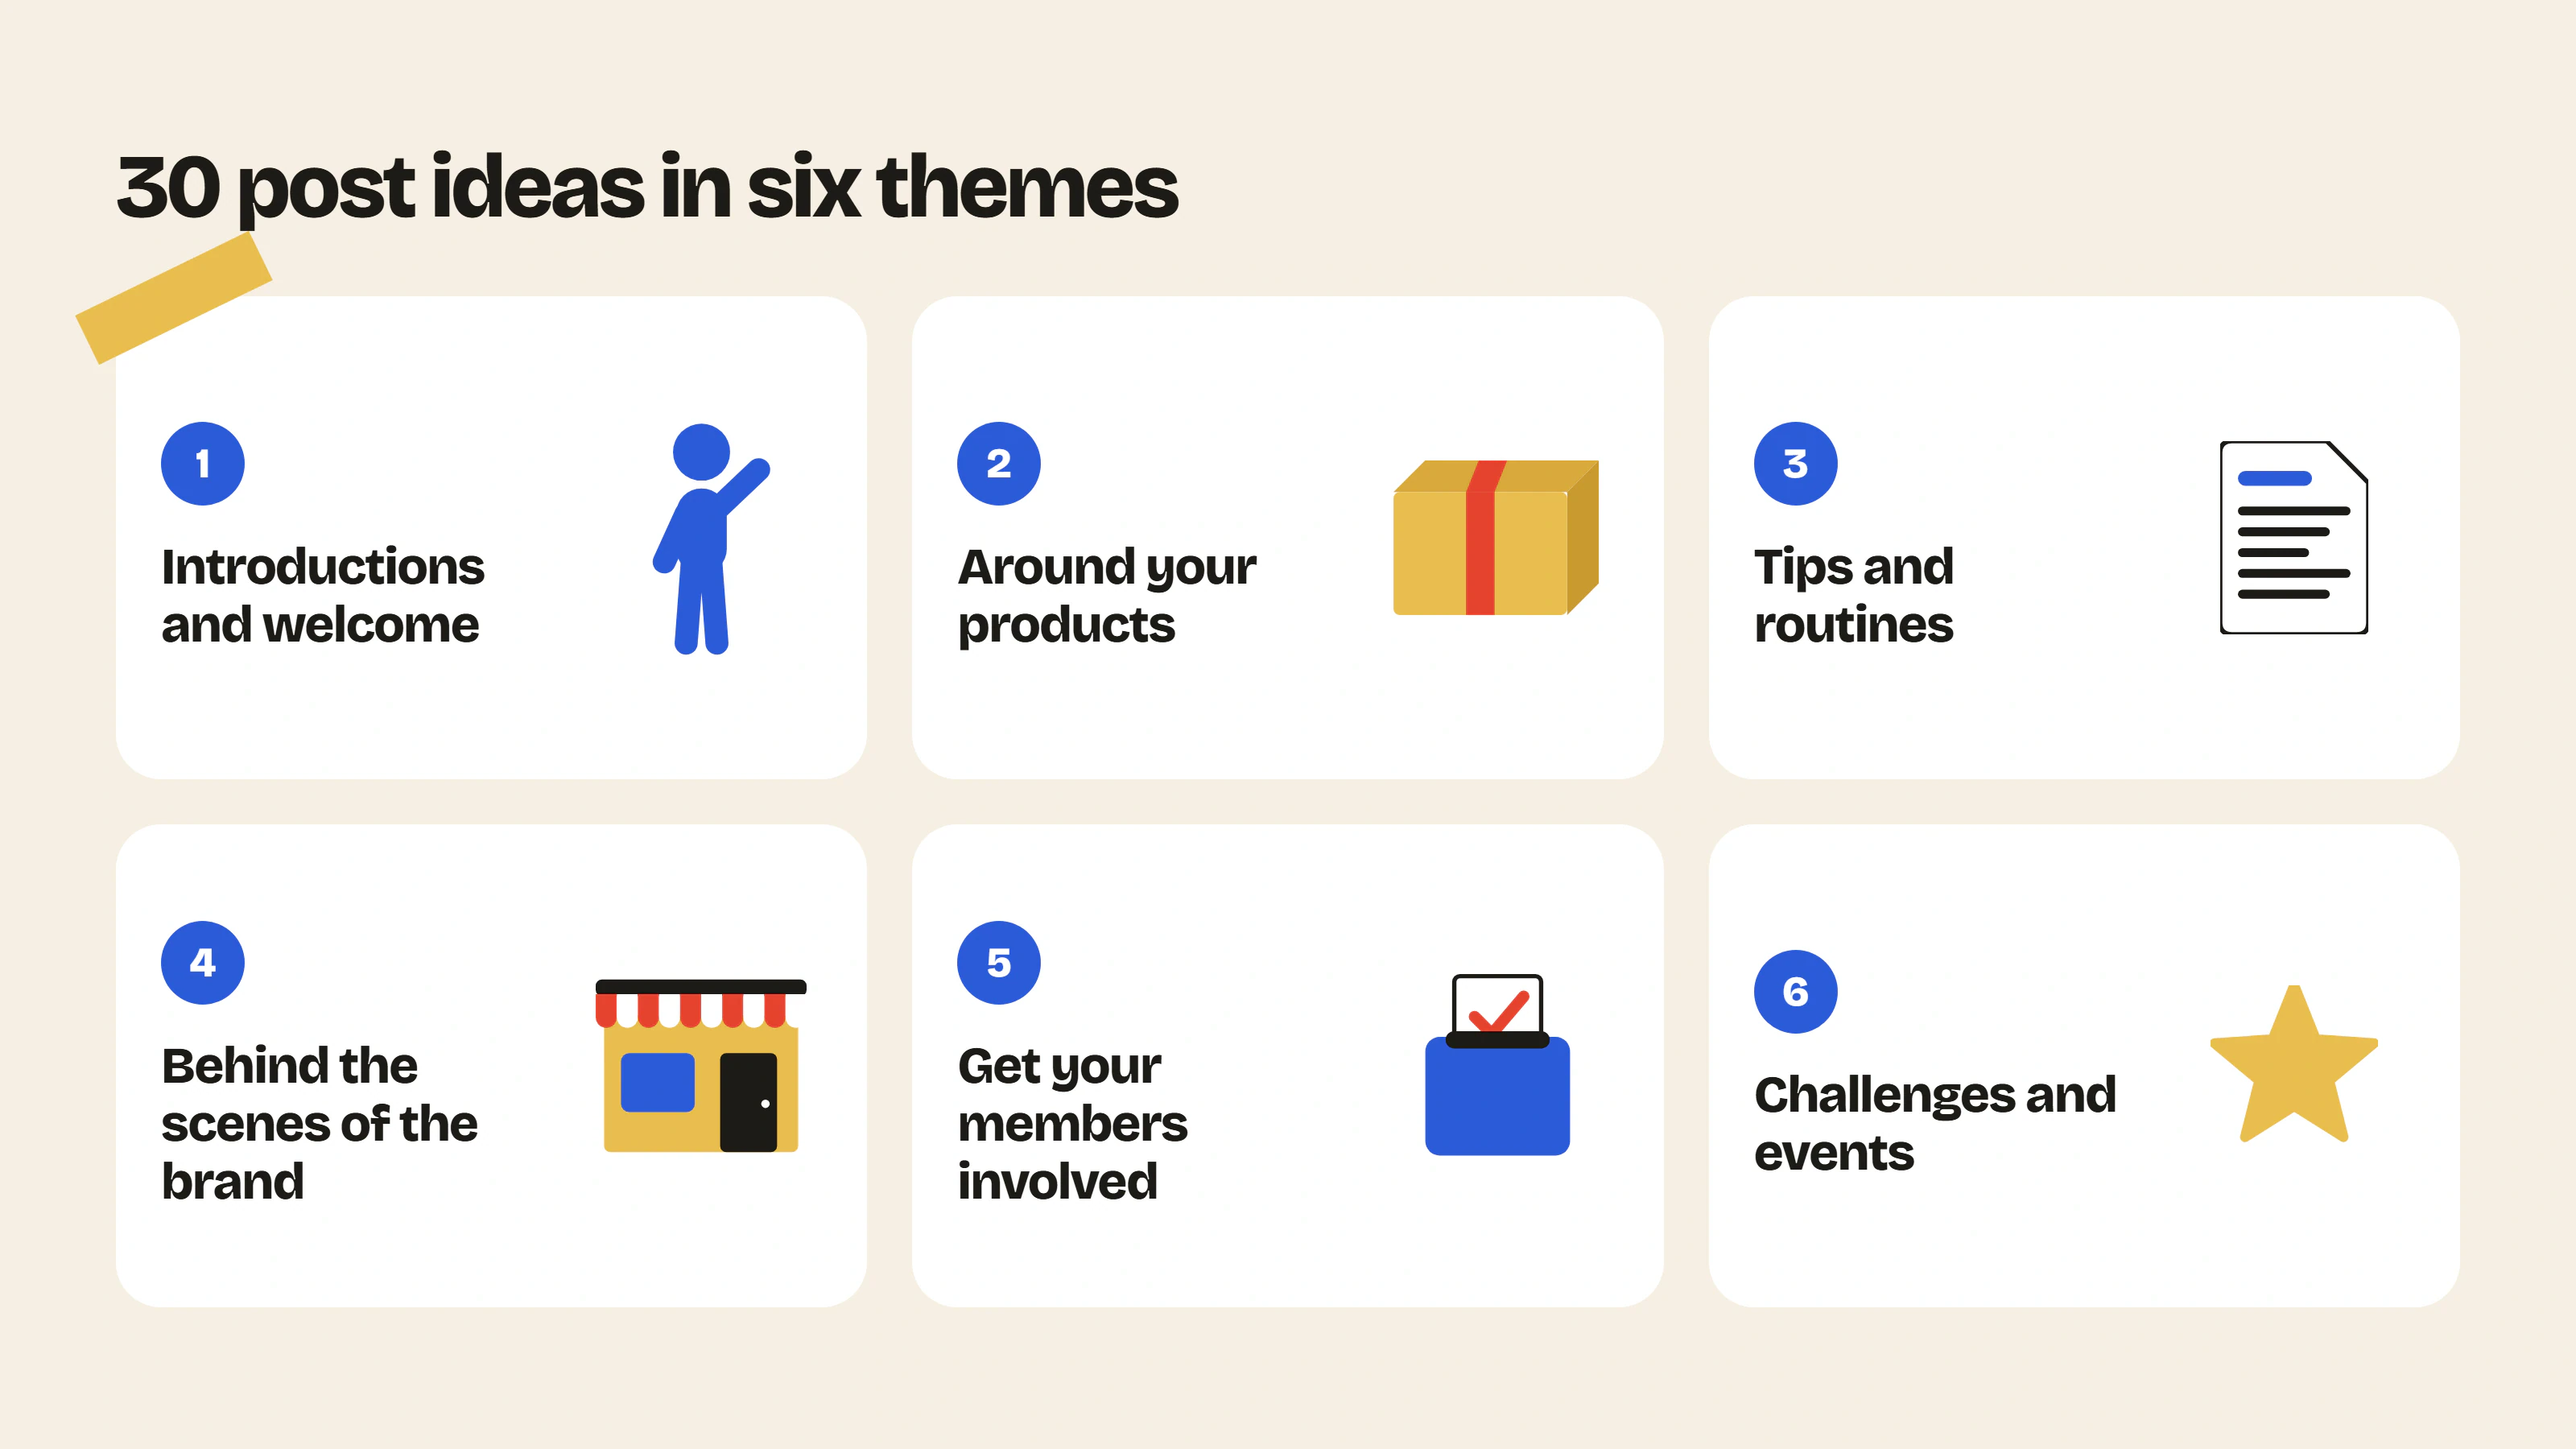
Writing posts isn’t always easy, which is why we have prepared 30 ideas for you, enough to last more than six months with one post a week. Everyday life and questions that may seem ordinary are often the best topics: they are the ones that get the most reactions.
| No. | Post idea | Theme |
|---|---|---|
| 1 | “Introduce yourself in one sentence, with your favorite product.” | Introductions and welcome |
| 2 | “How did you discover the brand?” | Introductions and welcome |
| 3 | “Tell us about your first purchase from us.” | Introductions and welcome |
| 4 | Welcome to this month’s new members | Introductions and welcome |
| 5 | Your unfiltered review of a specific product | Around your products |
| 6 | Your before / after | Around your products |
| 7 | “How do you use this product day to day?” | Around your products |
| 8 | The product you could no longer do without | Around your products |
| 9 | A question about sizing or care | Around your products |
| 10 | “What do you pair it with?” | Around your products |
| 11 | Your routine in three steps | Tips and routines |
| 12 | The tip of the week | Tips and routines |
| 13 | The mistake you won’t make again | Tips and routines |
| 14 | The Monday question | Tips and routines |
| 15 | How a product is made, step by step | Behind the scenes of the brand |
| 16 | A day with the team | Behind the scenes of the brand |
| 17 | Your story as a founder, the brand’s early days | Behind the scenes of the brand |
| 18 | Your latest discoveries | Behind the scenes of the brand |
| 19 | A failure and what you learned from it | Behind the scenes of the brand |
| 20 | The craftsperson or supplier you work with | Behind the scenes of the brand |
| 21 | A poll to choose the name of a product | Get your members involved |
| 22 | A vote on the next color, with a number of votes to reach | Get your members involved |
| 23 | “What product would you like us to create?” | Get your members involved |
| 24 | A product to test before its release | Get your members involved |
| 25 | Your opinion on our packaging | Get your members involved |
| 26 | A tutorial by a member | Get your members involved |
| 27 | The photo of the month | Challenges and events |
| 28 | The challenge of the week | Challenges and events |
| 29 | The member of the month, chosen by the members | Challenges and events |
| 30 | “You suggested it, we made it.” | Challenges and events |
For idea 22, we took inspiration from LEGO Ideas: at LEGO, a fan project that reaches 10,000 supporters is reviewed by the brand (LEGO). For a small store, fifty votes is already very good. And idea 23 is exactly what Glossier did.
If that still doesn’t help, take what you do or have planned on social media and adapt it into a post for your community. And if you are short on inspiration, our post generator and our article on the 5 types of content that keep an e-commerce community alive will give you more ideas.
The routine to keep your community alive
Once it is launched, a community mostly needs regular attention. Here is the routine we recommend, about half an hour a week.
| When | What | Time |
|---|---|---|
| Every week | Add a post (you can schedule it in advance) | 10 min |
| When you have a few minutes | Reply to posts and comments, like | 5 to 10 min |
| From time to time | Post a story to remind people of the community on your most active social accounts | 5 min |
| Every month | Look at the statistics, merge empty categories, choose the member of the month | 15 min |
| Every month | Add the questions that keep coming back to your product pages or your FAQ | 15 min |
For the FAQ, we explain how it works together with a forum in our selection of the best apps to create an FAQ on Shopify.
And to give your members events they look forward to every week, like Question Friday or the Wednesday photo, we have gathered 60 ideas in our article on community engagement ideas.
Choose your ambassadors
Your ambassadors are the members who welcome newcomers and answer questions when you are not around. We recommend either selecting people you know or choosing your biggest fans or the customers who are closest to you. They will feel recognized and will probably want to help you and help others buy well.
To choose them, look at who you interact with most on social media and contact your best buyers. The goal is for them to know your brand inside out, to be loyal to your products and 100% convinced.
One piece of advice: give them an ambassador role, but keep admin rights for your team. An admin can delete messages, ban members and change the settings, which is a lot for a customer, even a very involved one.
Ambassadors stay motivated longer when they have a specific mission, like looking after a topic or choosing the photo of the month. In return, if you want to reward them, you can offer them a discount on their future purchases, presented as a thank-you.
To stay in touch with them, you can also create a WhatsApp group. It lets you share news with them in advance so they can talk about it in the community and on their social media.
Reward your members
To thank all your members, the simplest way is to give them a special discount code, which you send by message on social media or by email by creating a segment.
There are other ways to thank your members too. Pinning the best answer of the week, quoting a member in your newsletter, giving early access to new products or giving a badge to those who help the most costs less and is often just as appreciated.
If you want a full loyalty program with points and referral rewards, a Shopify loyalty and retention agency can design and run it for you.
Just be careful not to always reward the same people. If you always thank the most active members, they take up all the space and the others no longer dare to take part.
Mistakes to avoid
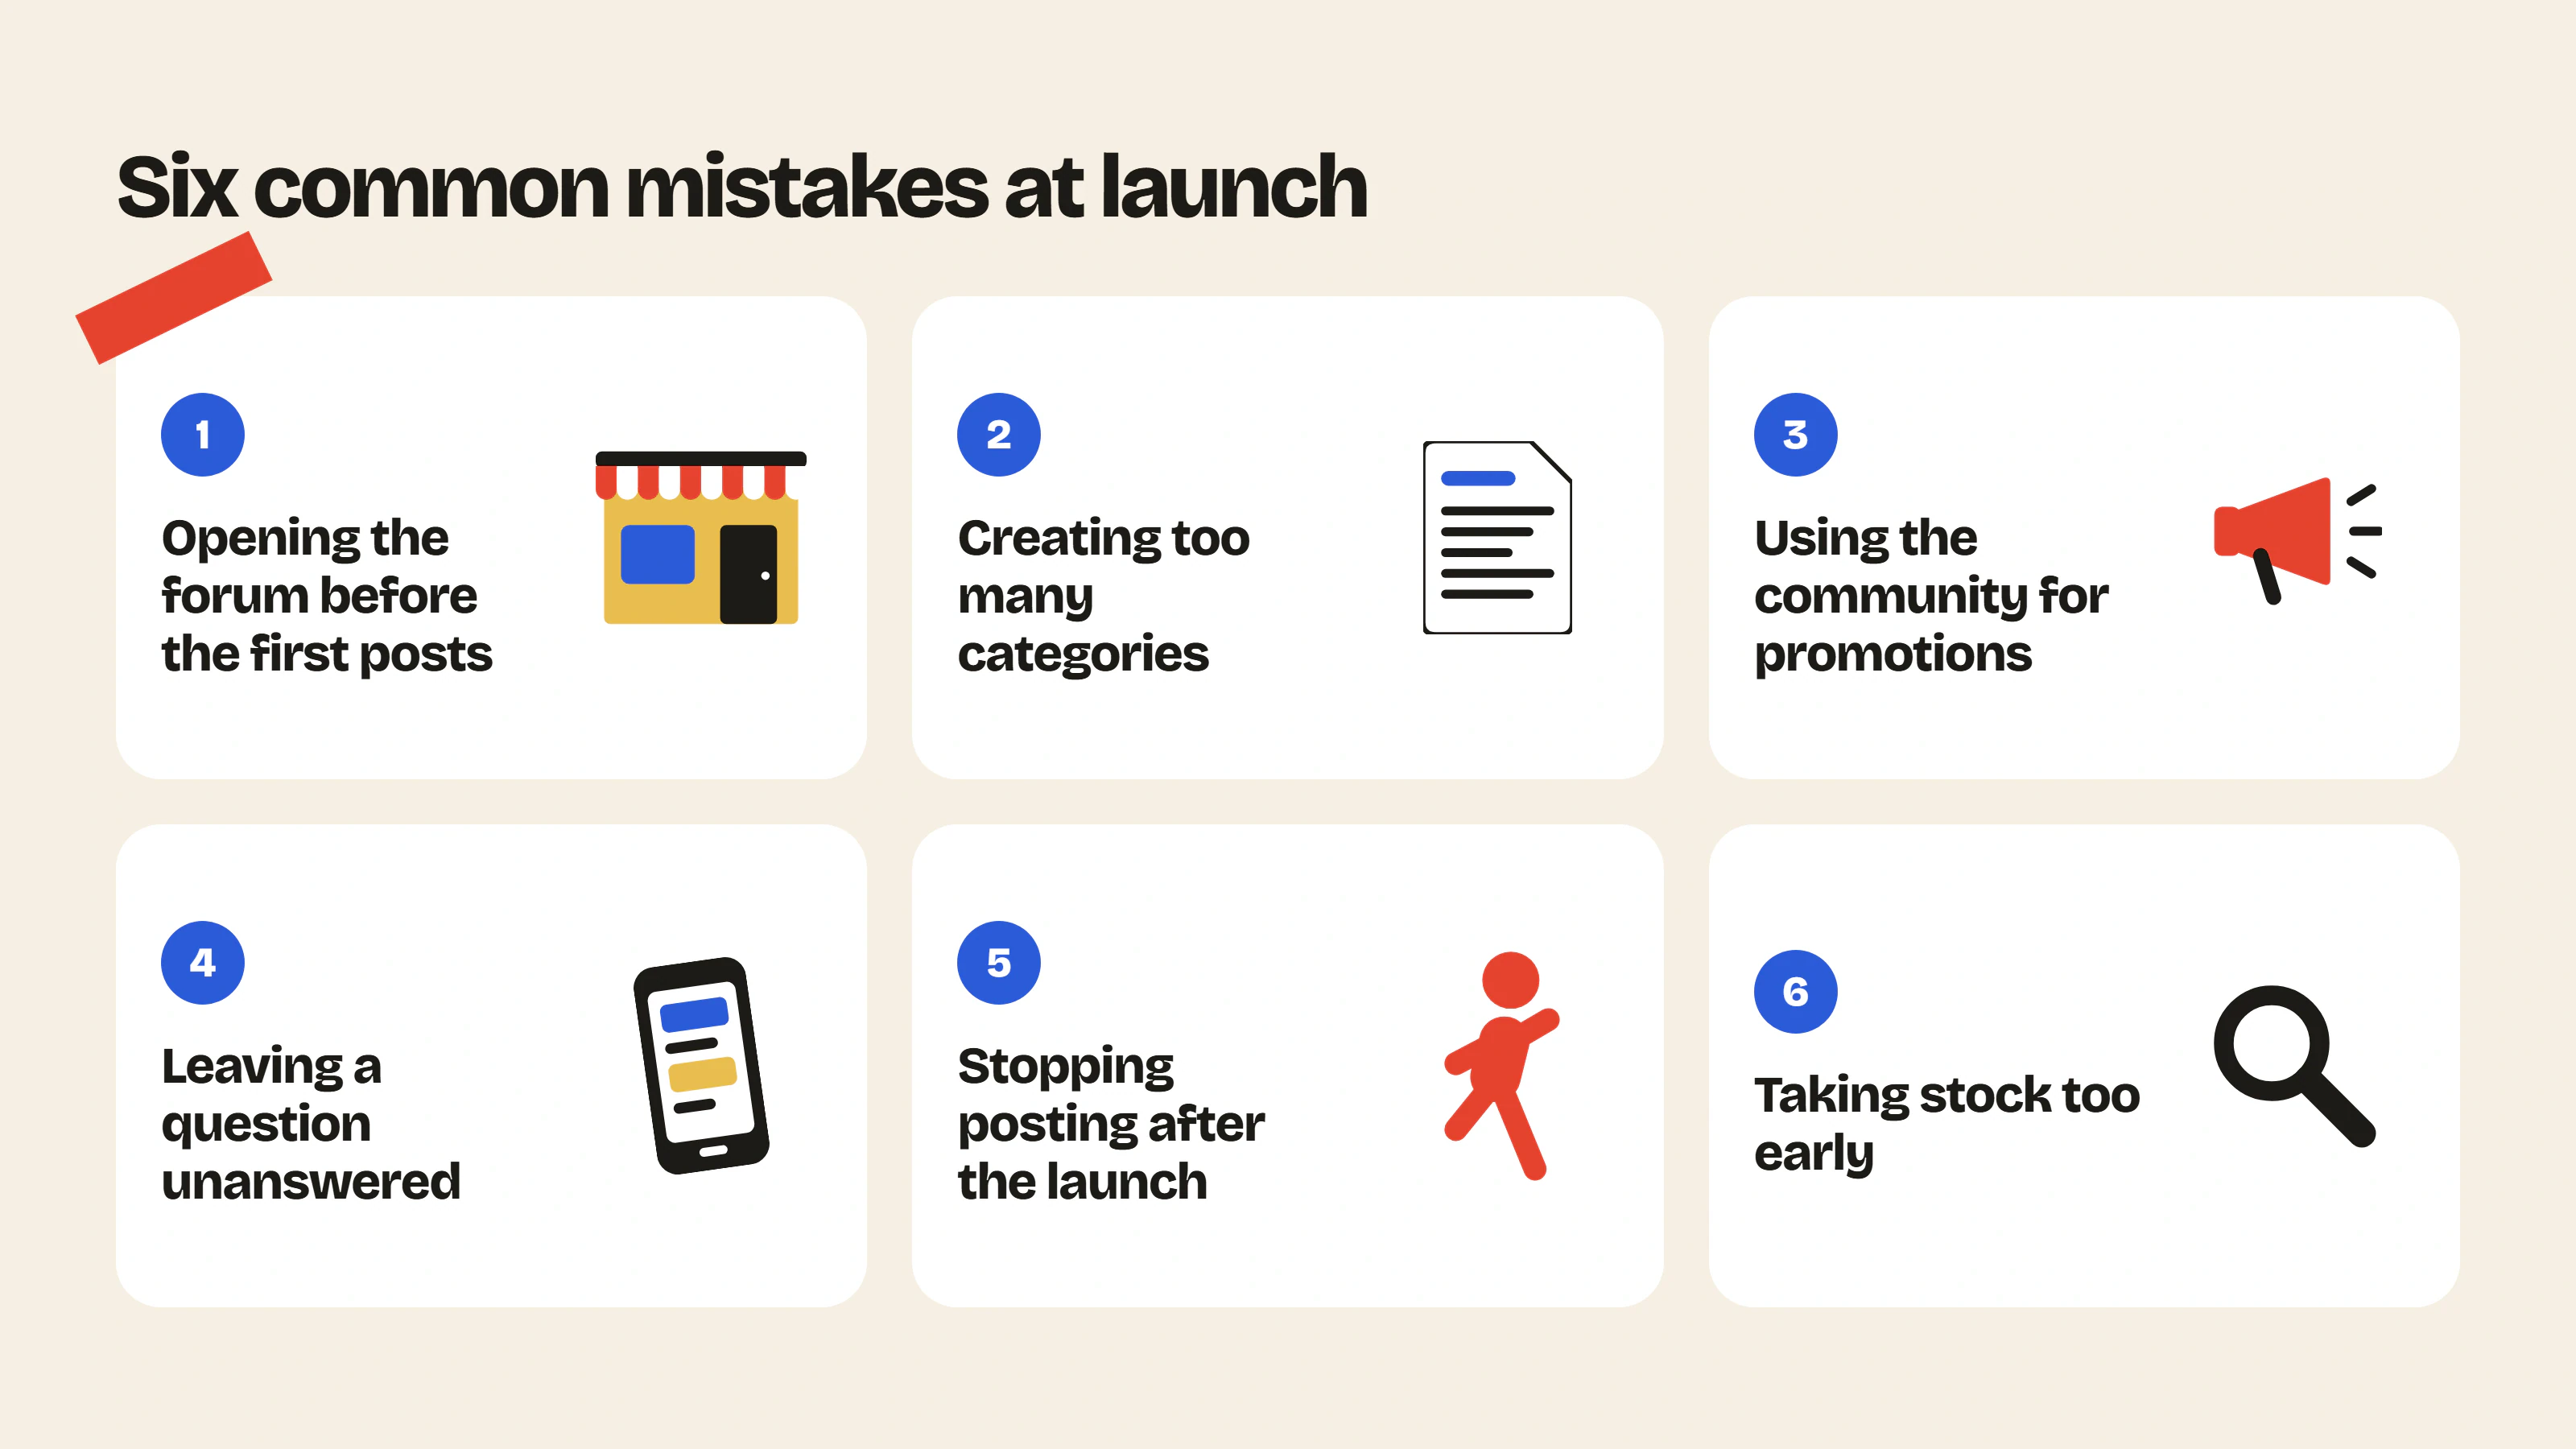
Here are the six mistakes we see most often at launch:
- Opening the forum before publishing the first posts: visitors land in an empty space and leave without writing.
- Creating too many categories from the start. Ten categories with a single post each give the impression that nobody is there.
- Using the community mainly for promotions. Your members come to talk to each other, if every post is an ad they lose interest. Keep offers for a separate category.
- Leaving a question unanswered, especially a new member’s first message.
- Stopping posting after the launch. In the first months, your posts are what set the pace.
- Taking stock too early. A community takes several months to find its rhythm, wait at least three months before judging.
Measure your results
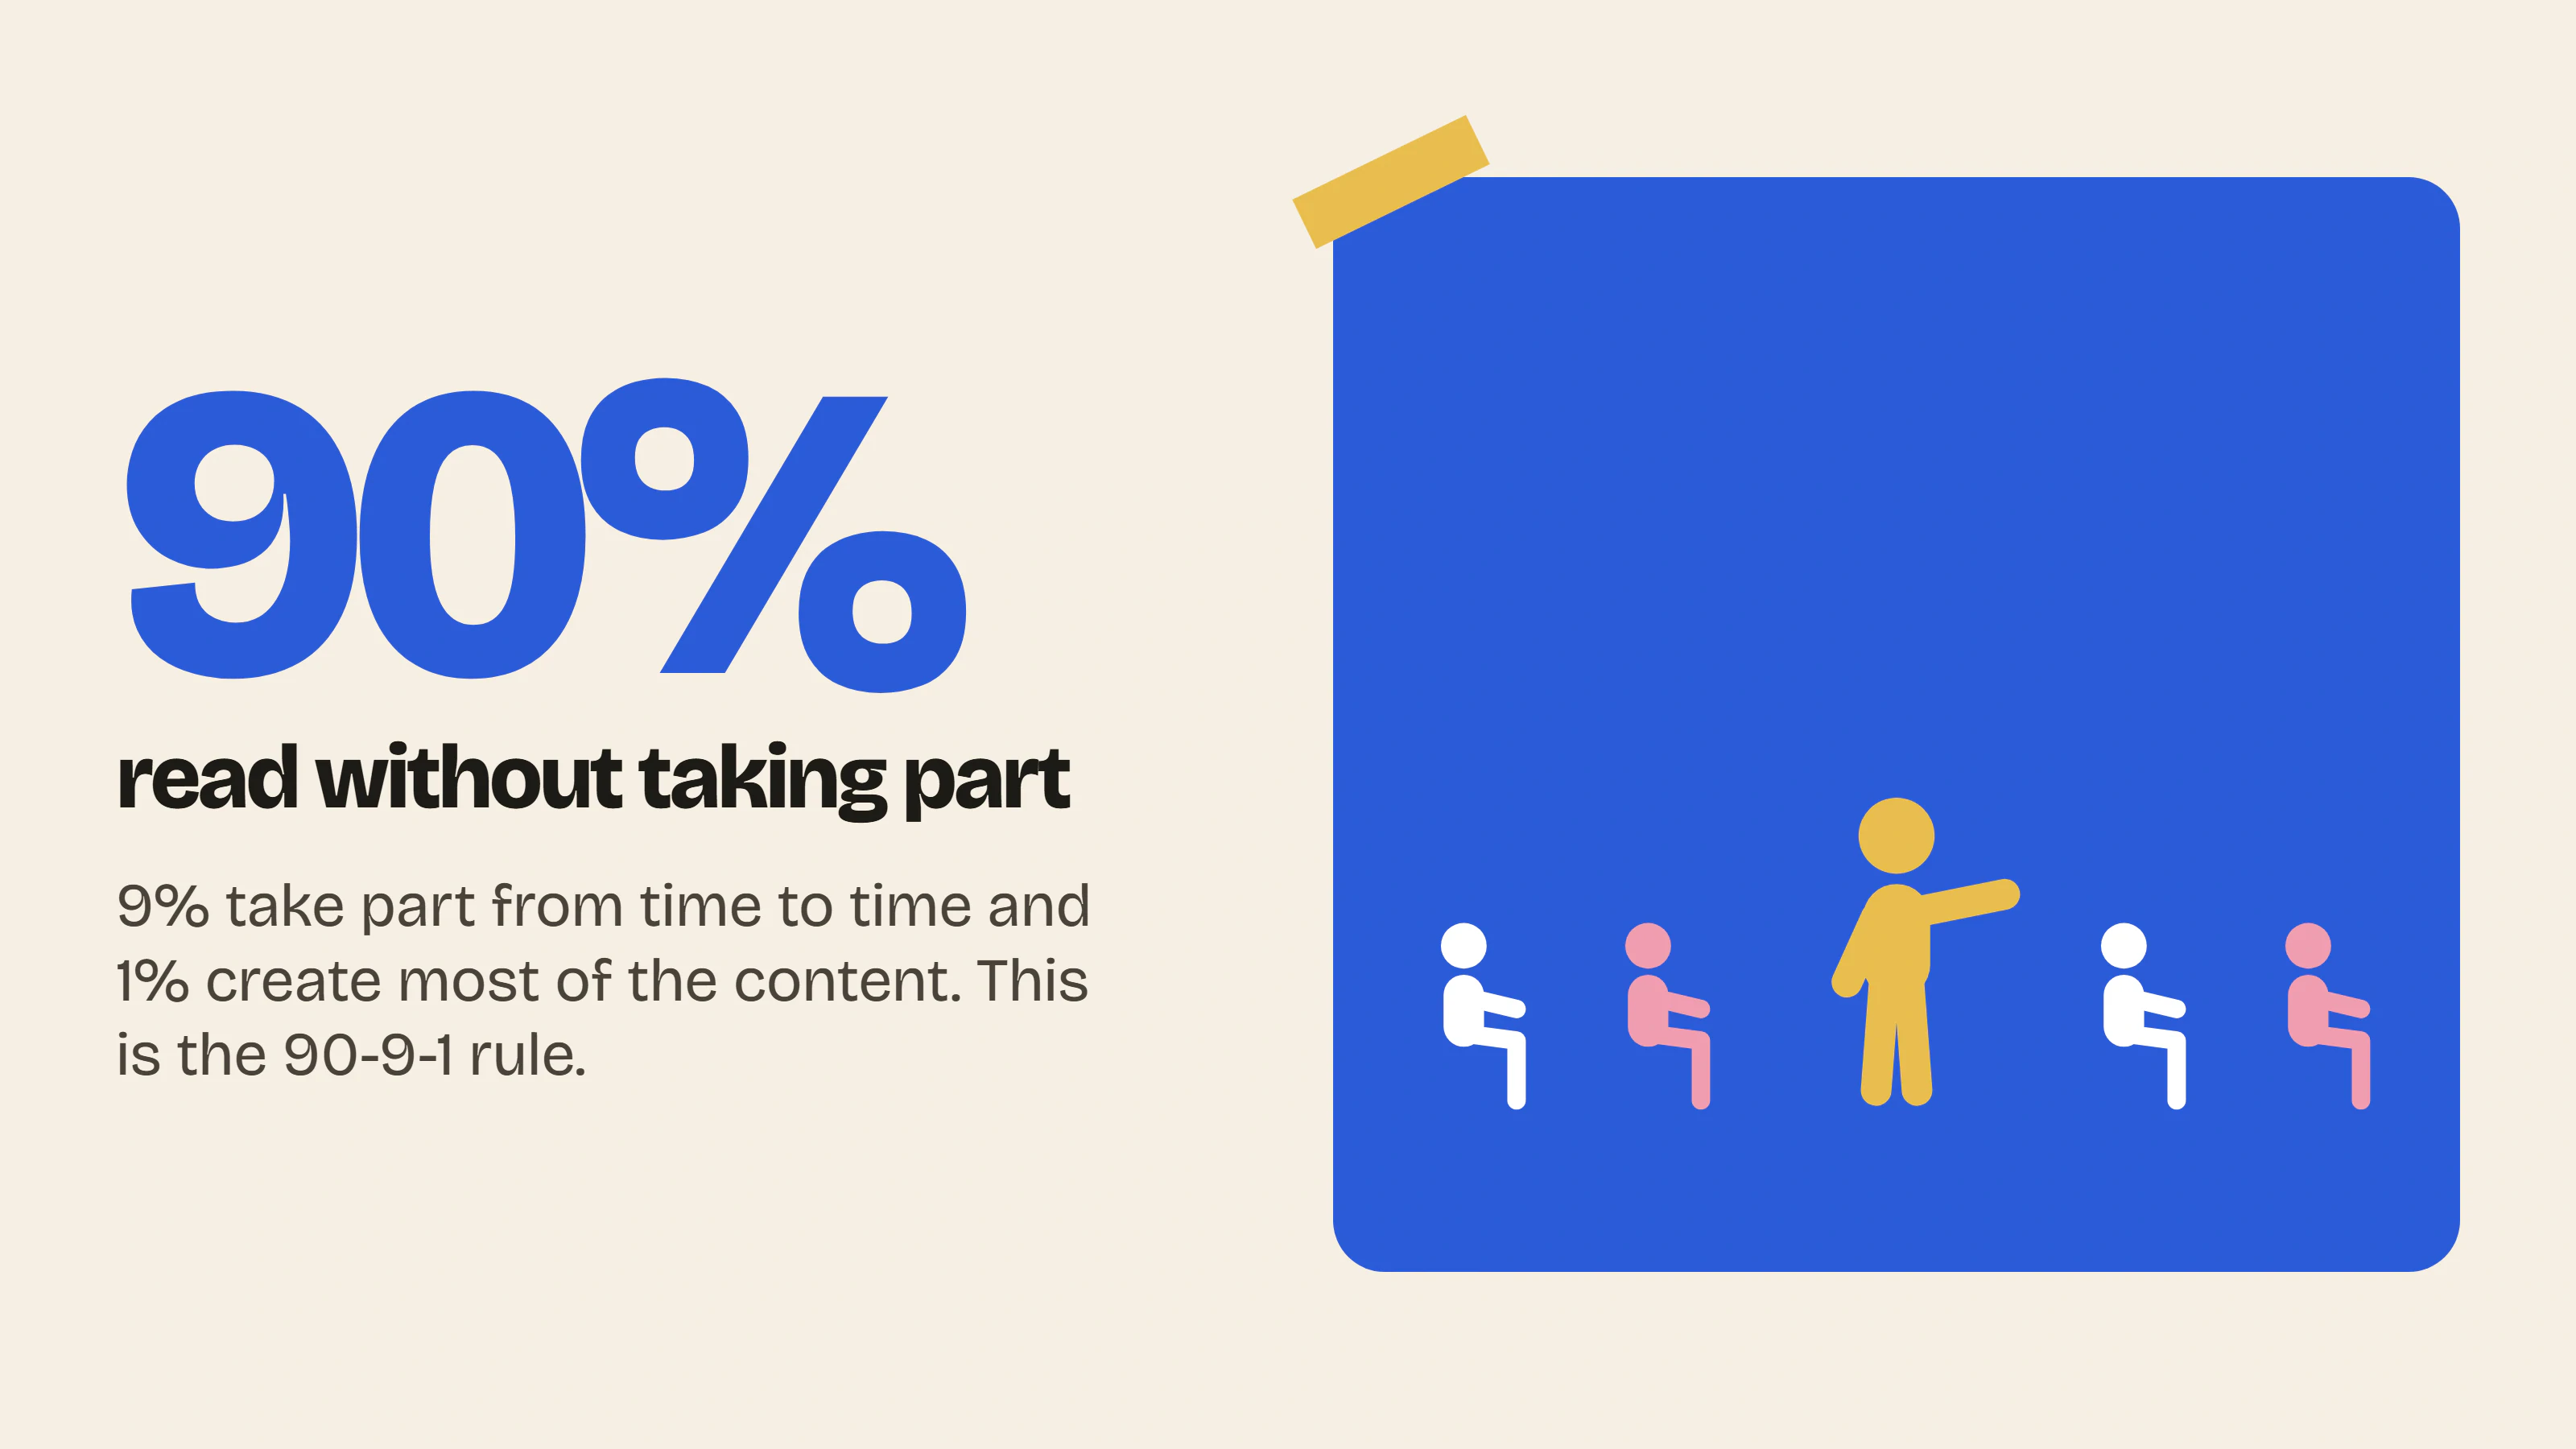
Don’t worry if most of your members read without ever writing, that is normal. The usability expert Jakob Nielsen described it in 2006 with the so-called 90-9-1 rule. In an online community, about 90% of members read without taking part, 9% take part from time to time and 1% write most of the content (Nielsen Norman Group). Those who read count too: they find their answers on the forum and come back to buy.
Once a month, look at these four figures in the app’s statistics:
| Metric | What it tells you |
|---|---|
| Active members this month | Whether the community is growing or slowing down |
| Share of new members who post within the month | Whether your welcome makes people want to write |
| Share of questions that get an answer and how fast | Whether peer support works |
| Posts this week written by members (not the team) | Whether the community lives without you |
To link all this to your sales, you can also track the value of your loyal customers with our customer lifetime value calculator.
The launch checklist
Before opening
- The topic and audience of the community are defined
- The welcome sentence is written
- The questions your customers often ask are listed
- Fifteen or so fan customers are identified
- The forum matches the brand’s look (logo, banner, fonts, colors)
- Three to five categories are created, with name, description and emoji
- The community guidelines are published
- The settings are adjusted (access, links, banned words, limits, alert email)
- The welcome post is published and pinned
- Each category has its first post
- The invitation messages for fan customers are ready
After opening
- The announcement emails are sent, signed with your first name
- Banner, menu, homepage and footer link to the community
- Product pages and the thank-you page invite customers to join
- The welcome and post-purchase flows mention it
- The announcement is made on social media and in the newsletter
- One post a week is planned
- Every first message gets a reply within the day
- The first ambassadors are chosen
- The three-month review is in the calendar
FAQ
How many members do you need to launch a community?
10 to 20 active members are enough for newcomers to find conversations when they arrive. The most important thing is that these first members interact regularly.
Do you need a full-time community manager?
At first, half an hour a week is enough to publish a post and reply to messages. Once your ambassadors are in place, they take over part of the work of keeping the community active.
How long does it take for a community to run on its own?
Allow several months for this to happen. At first, you are the one who starts most of the conversations, then little by little the members begin to reply to each other without waiting for the brand. That is the sign that the community is launched.
What is the difference between a brand community and an ambassador program?
The community is open to all your customers and lives on the conversations between them. The ambassador program brings together a few chosen members, with a role and perks. Its purpose is precisely to help the community grow.
Can you launch a community without using social media?
Yes, your store and your emails already reach your customers. A banner on the site, a link on product pages, a reminder in the post-purchase email and a card in the parcel are enough to bring in the first members. Social media then helps bring in more.
Going further
Think long term. A community takes a bit of effort at the start, but once it is in place it largely keeps itself going and it helps you build customer loyalty far more than any social network, because the conversations happen on your own site.
Keep an eye out for what is new on Insider Club, we have quite a few things planned for the coming months. You can see everything the app already does on the features page.
And if you have questions, contact us through the chat, by email at hello@insider-club.app or by booking a video call with our team. We will be happy to help you launch your community.
- Community previewPaste your store URL and see what your forum would look like, with your colors and your products.Use the tool – Community preview
- Launch post generatorTen ready-to-publish first posts to launch your forum: title, text, category and format.Use the tool – Launch post generator

 Install on Shopify